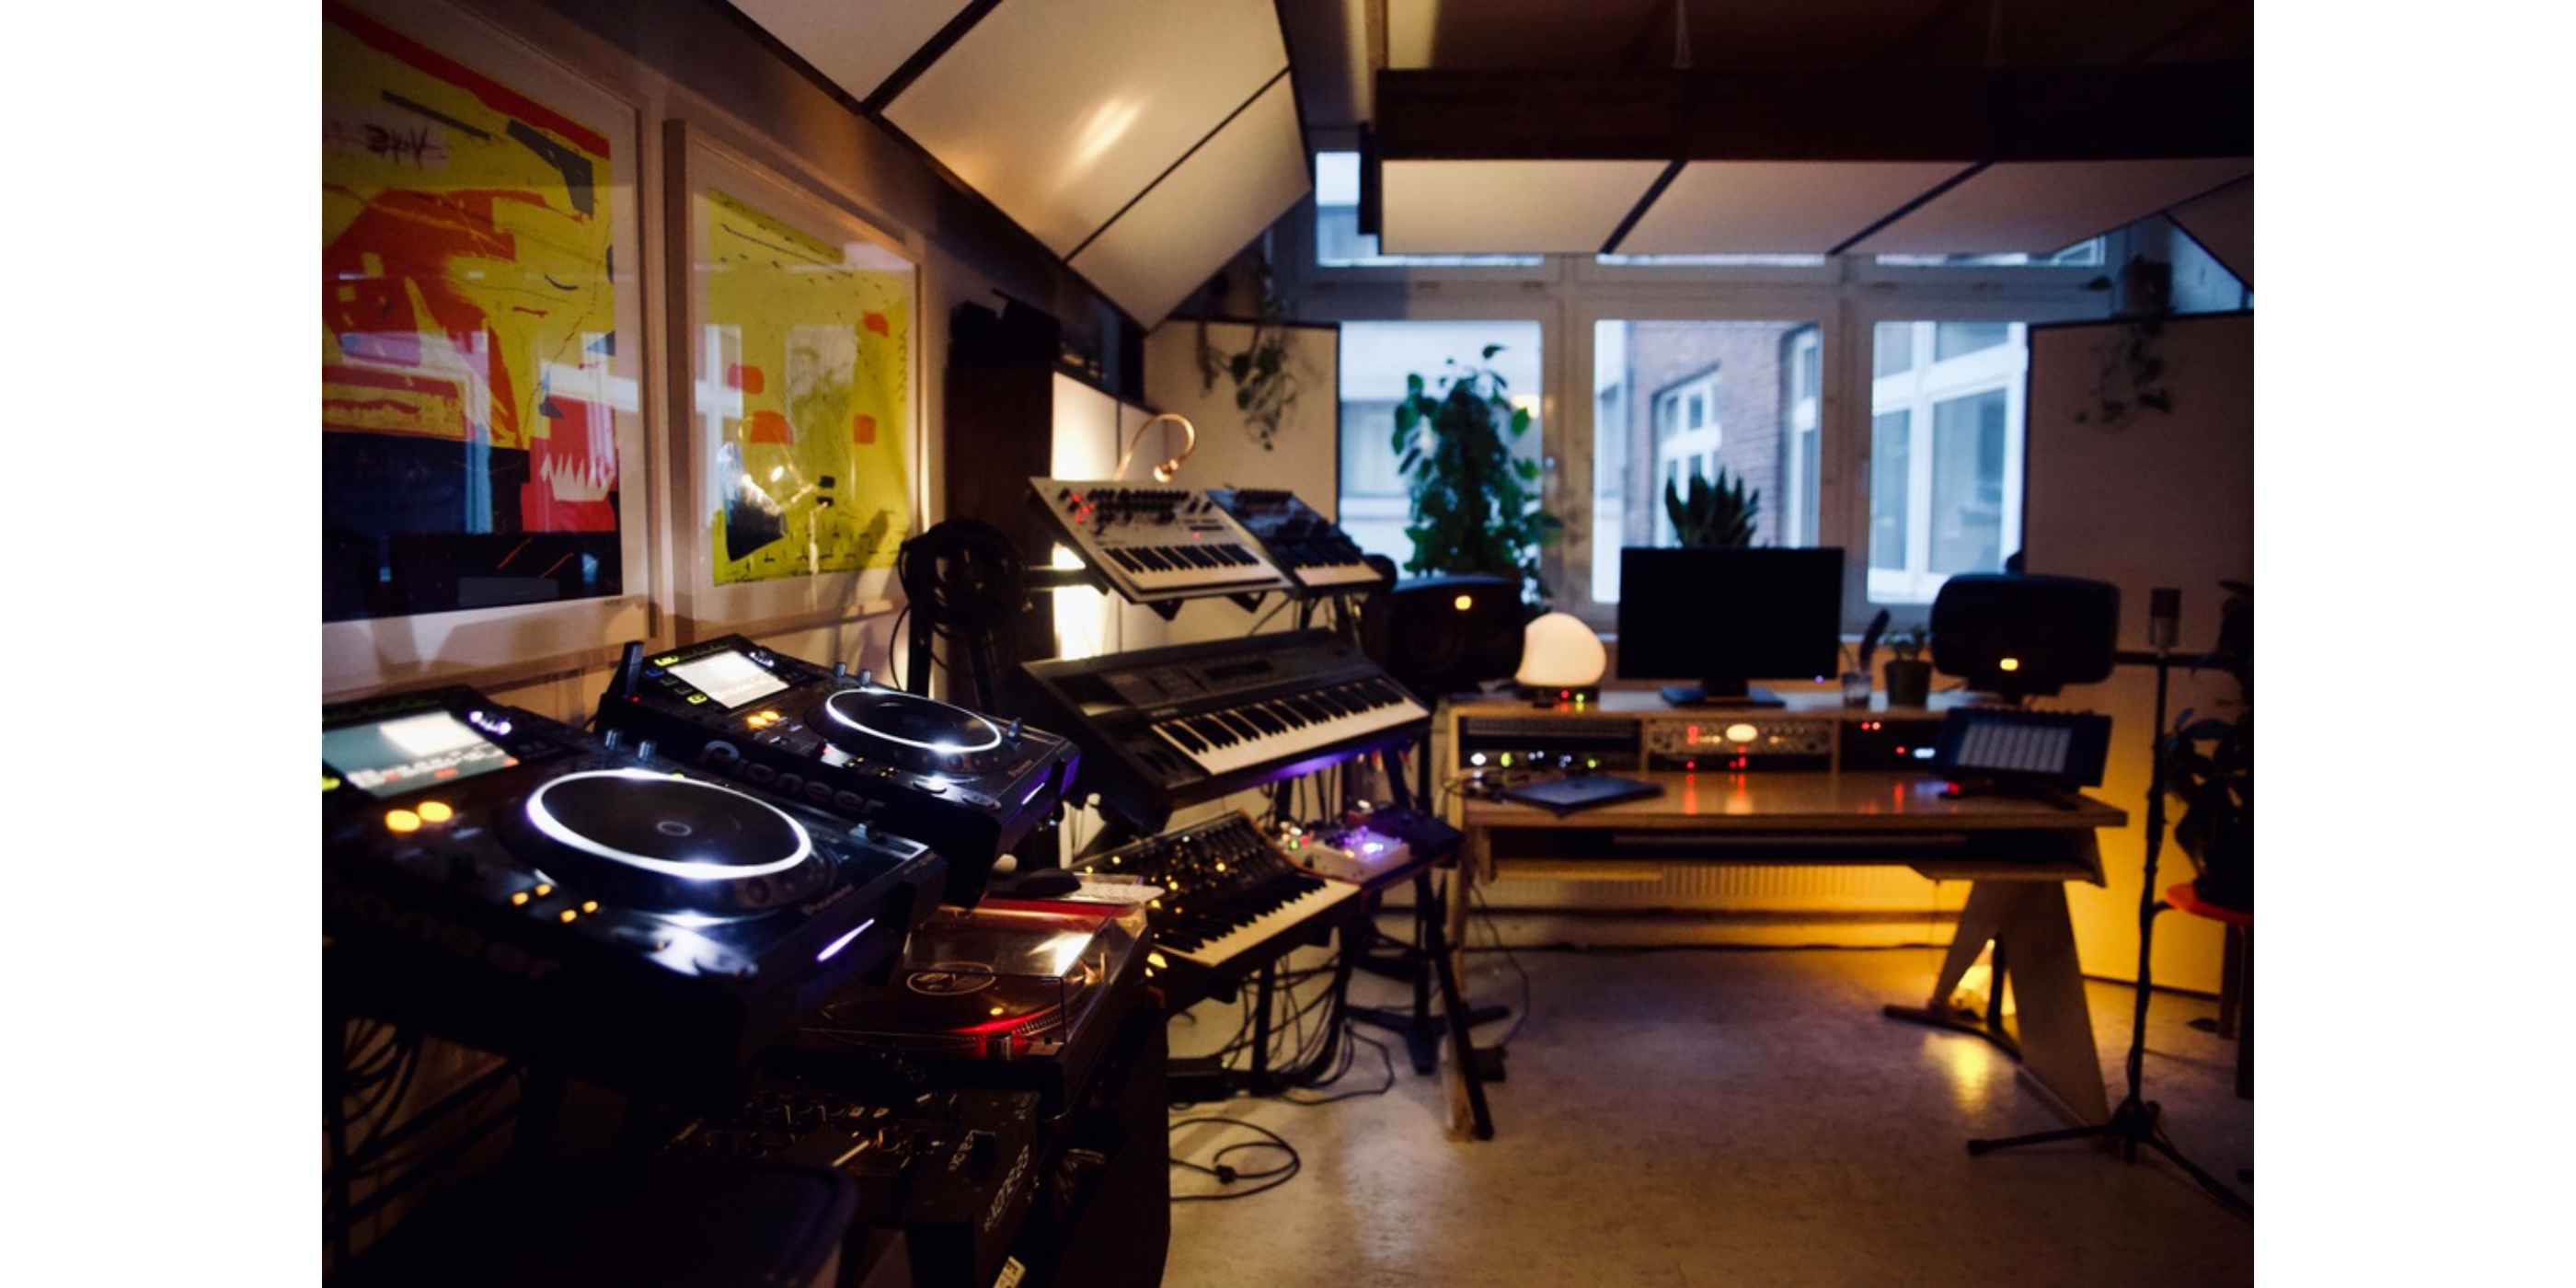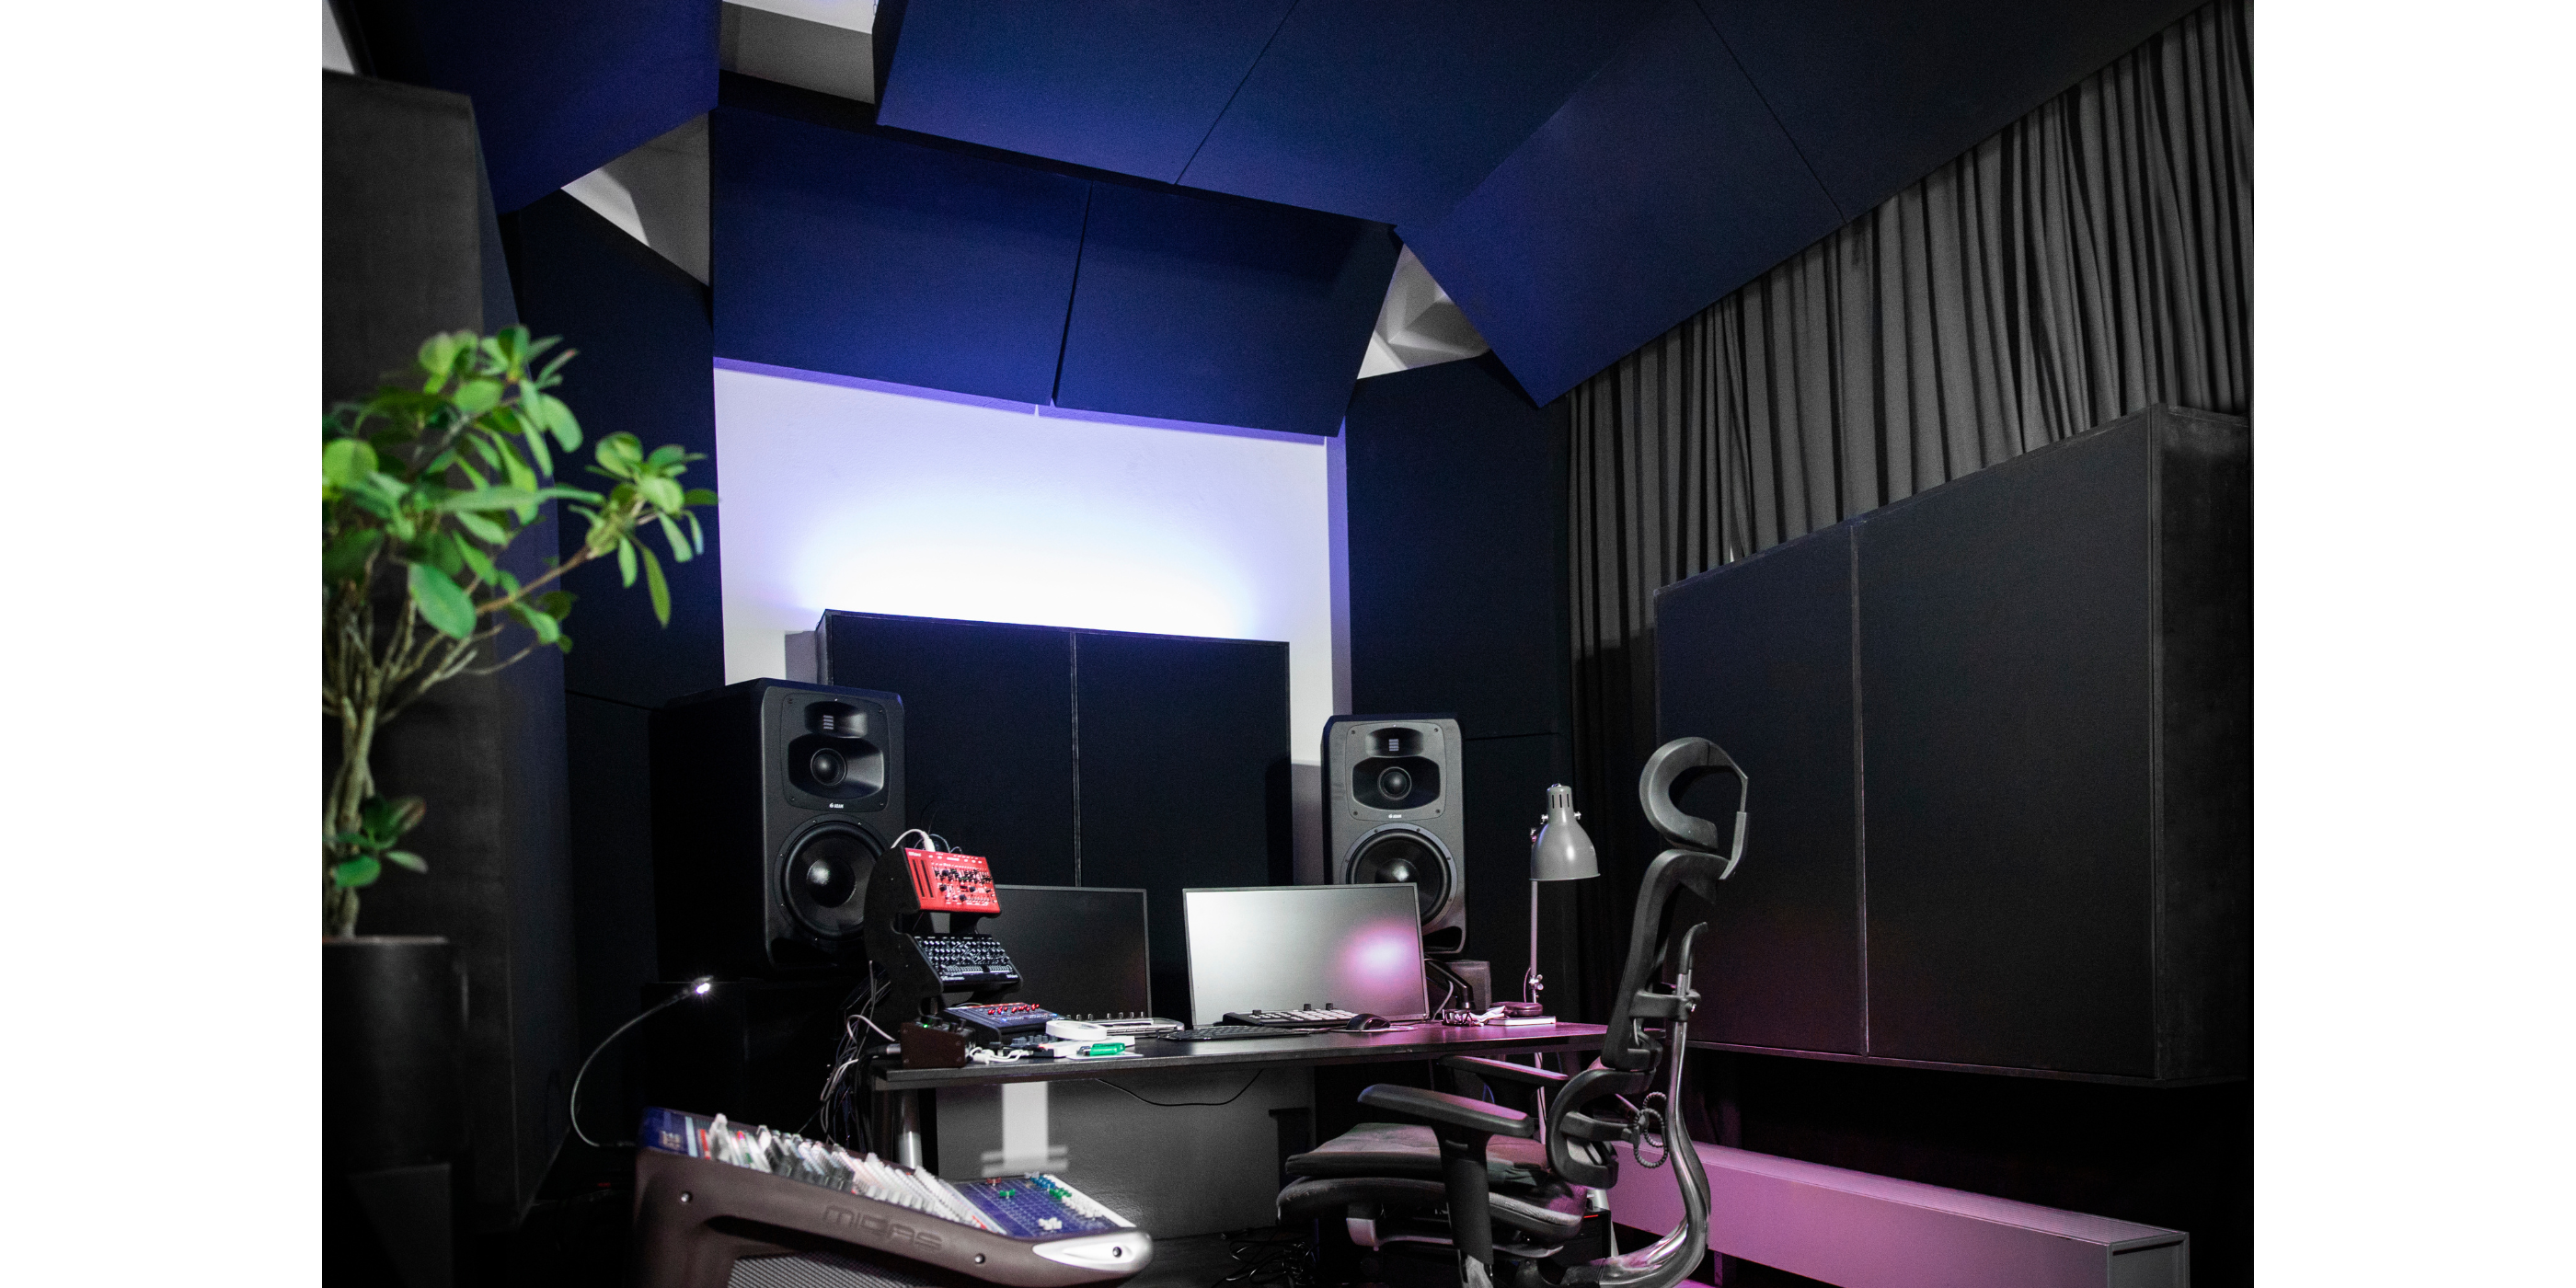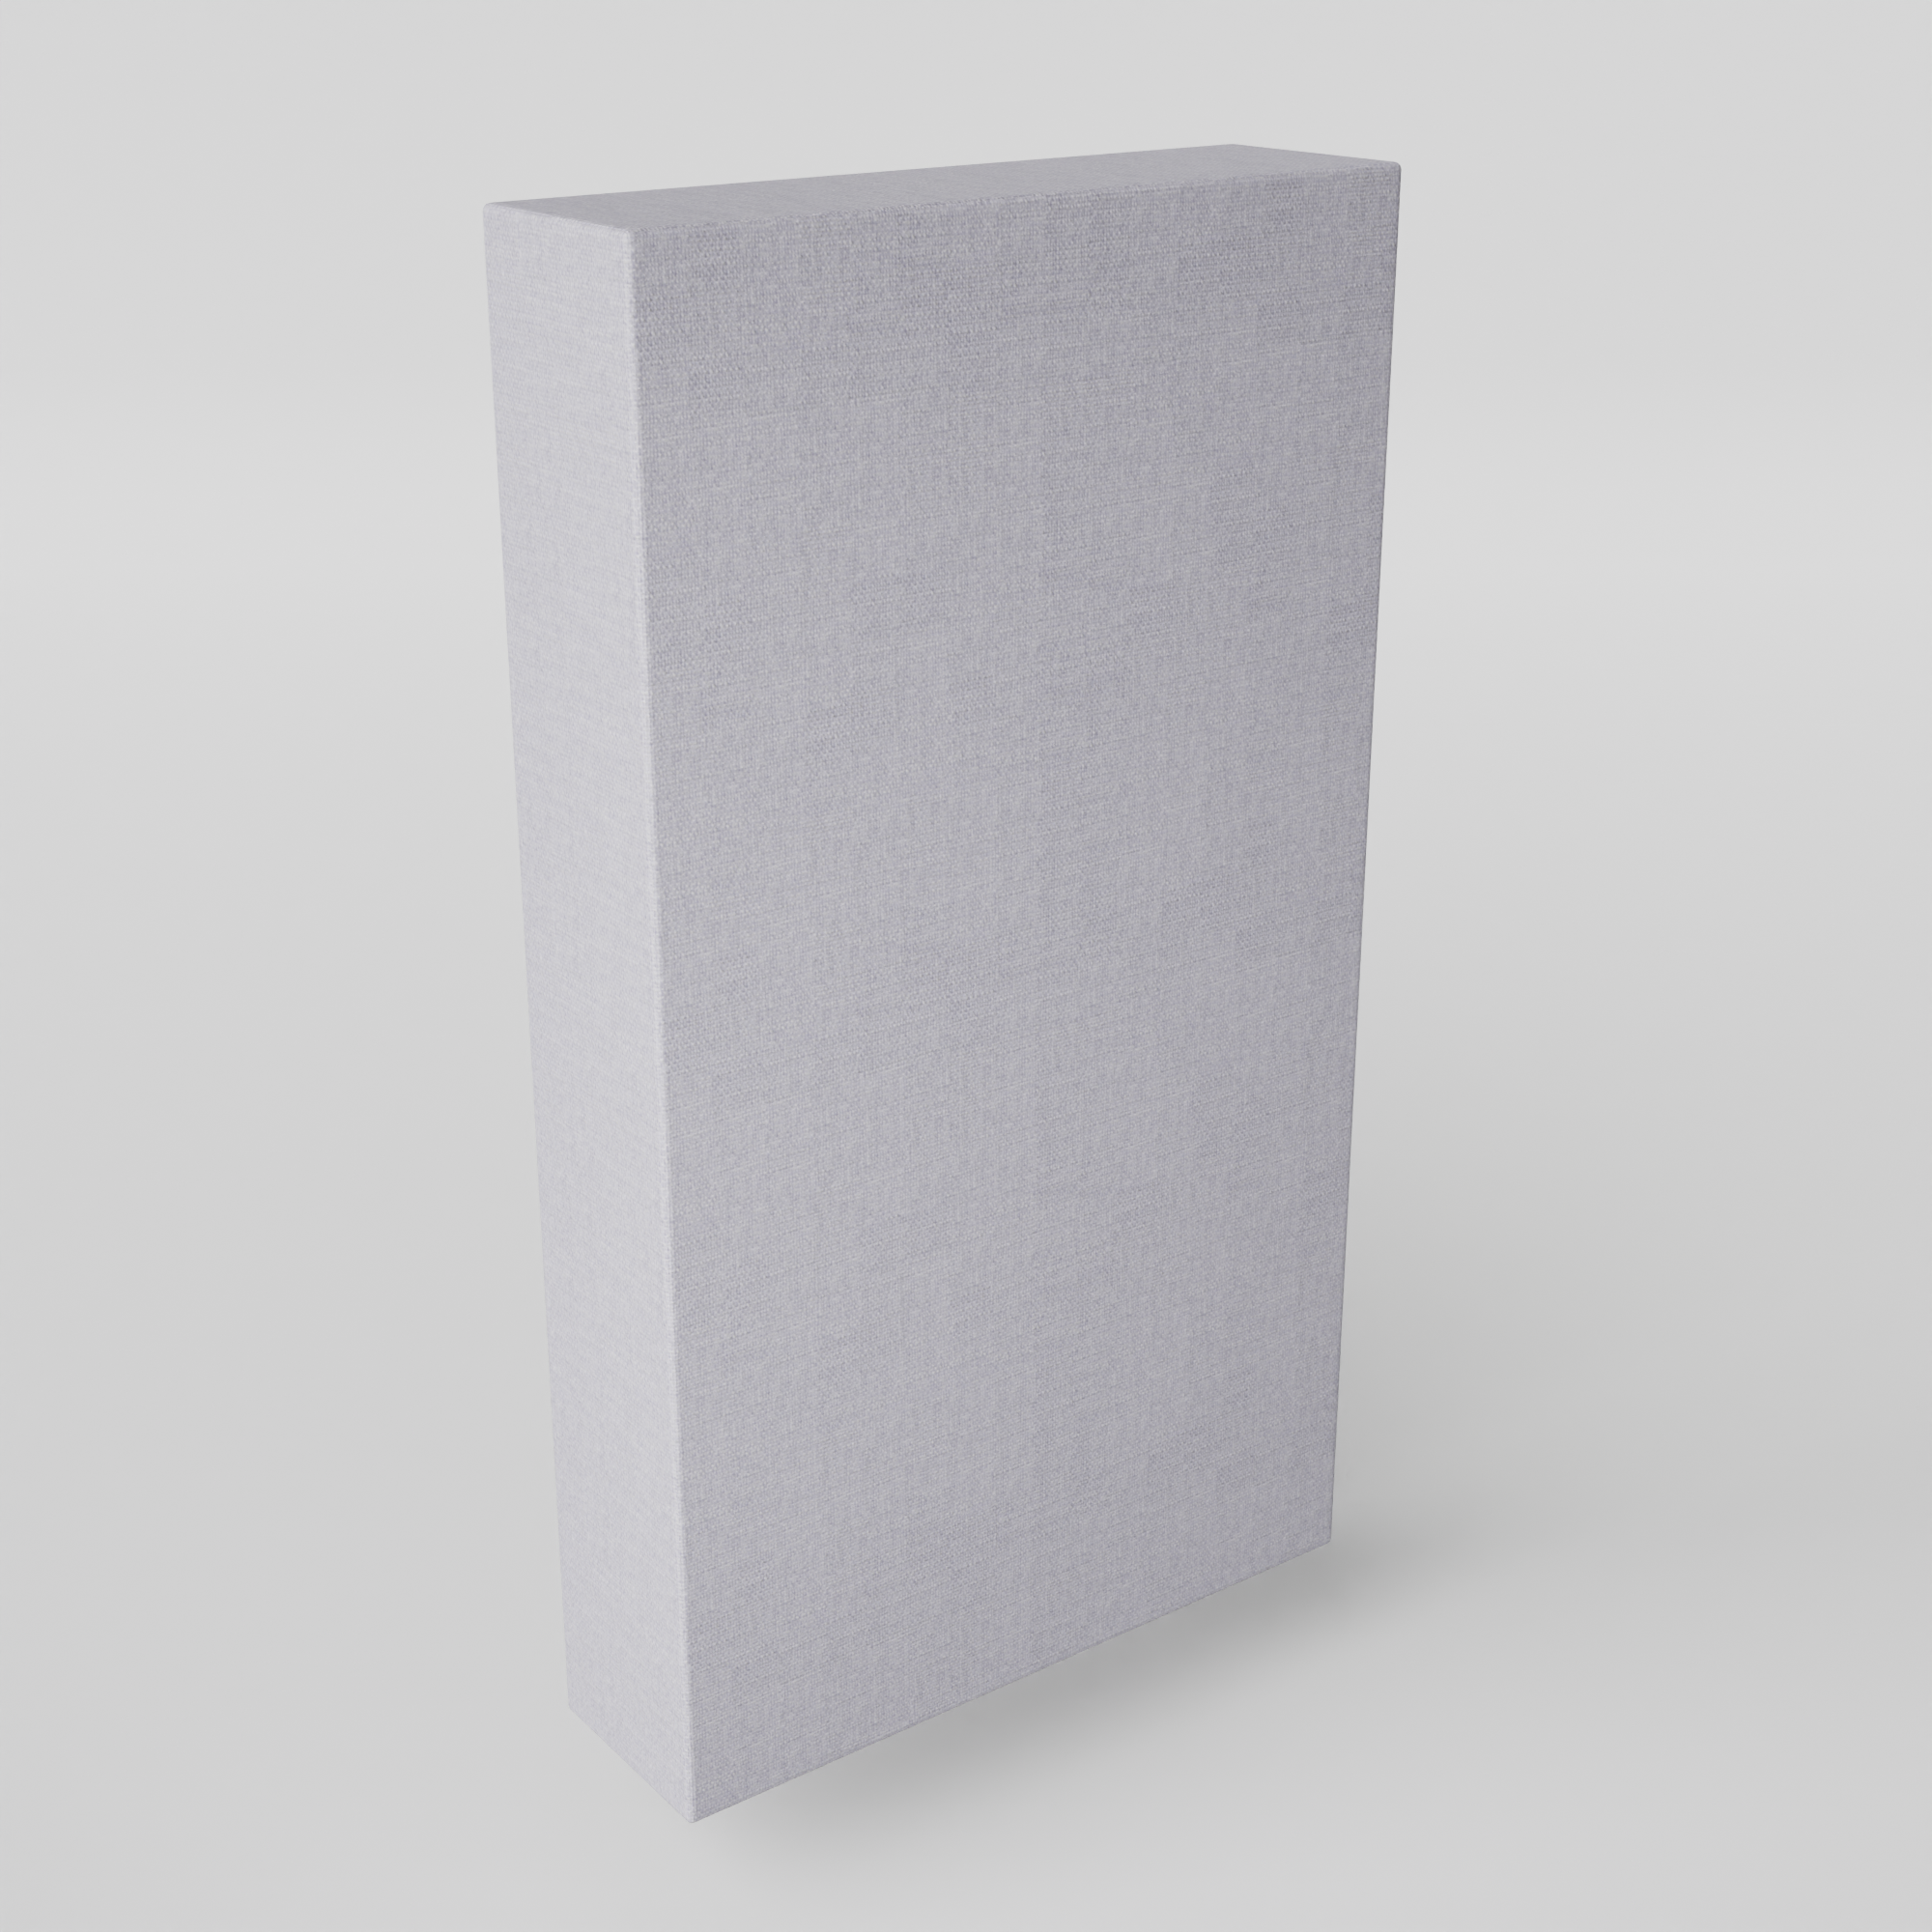
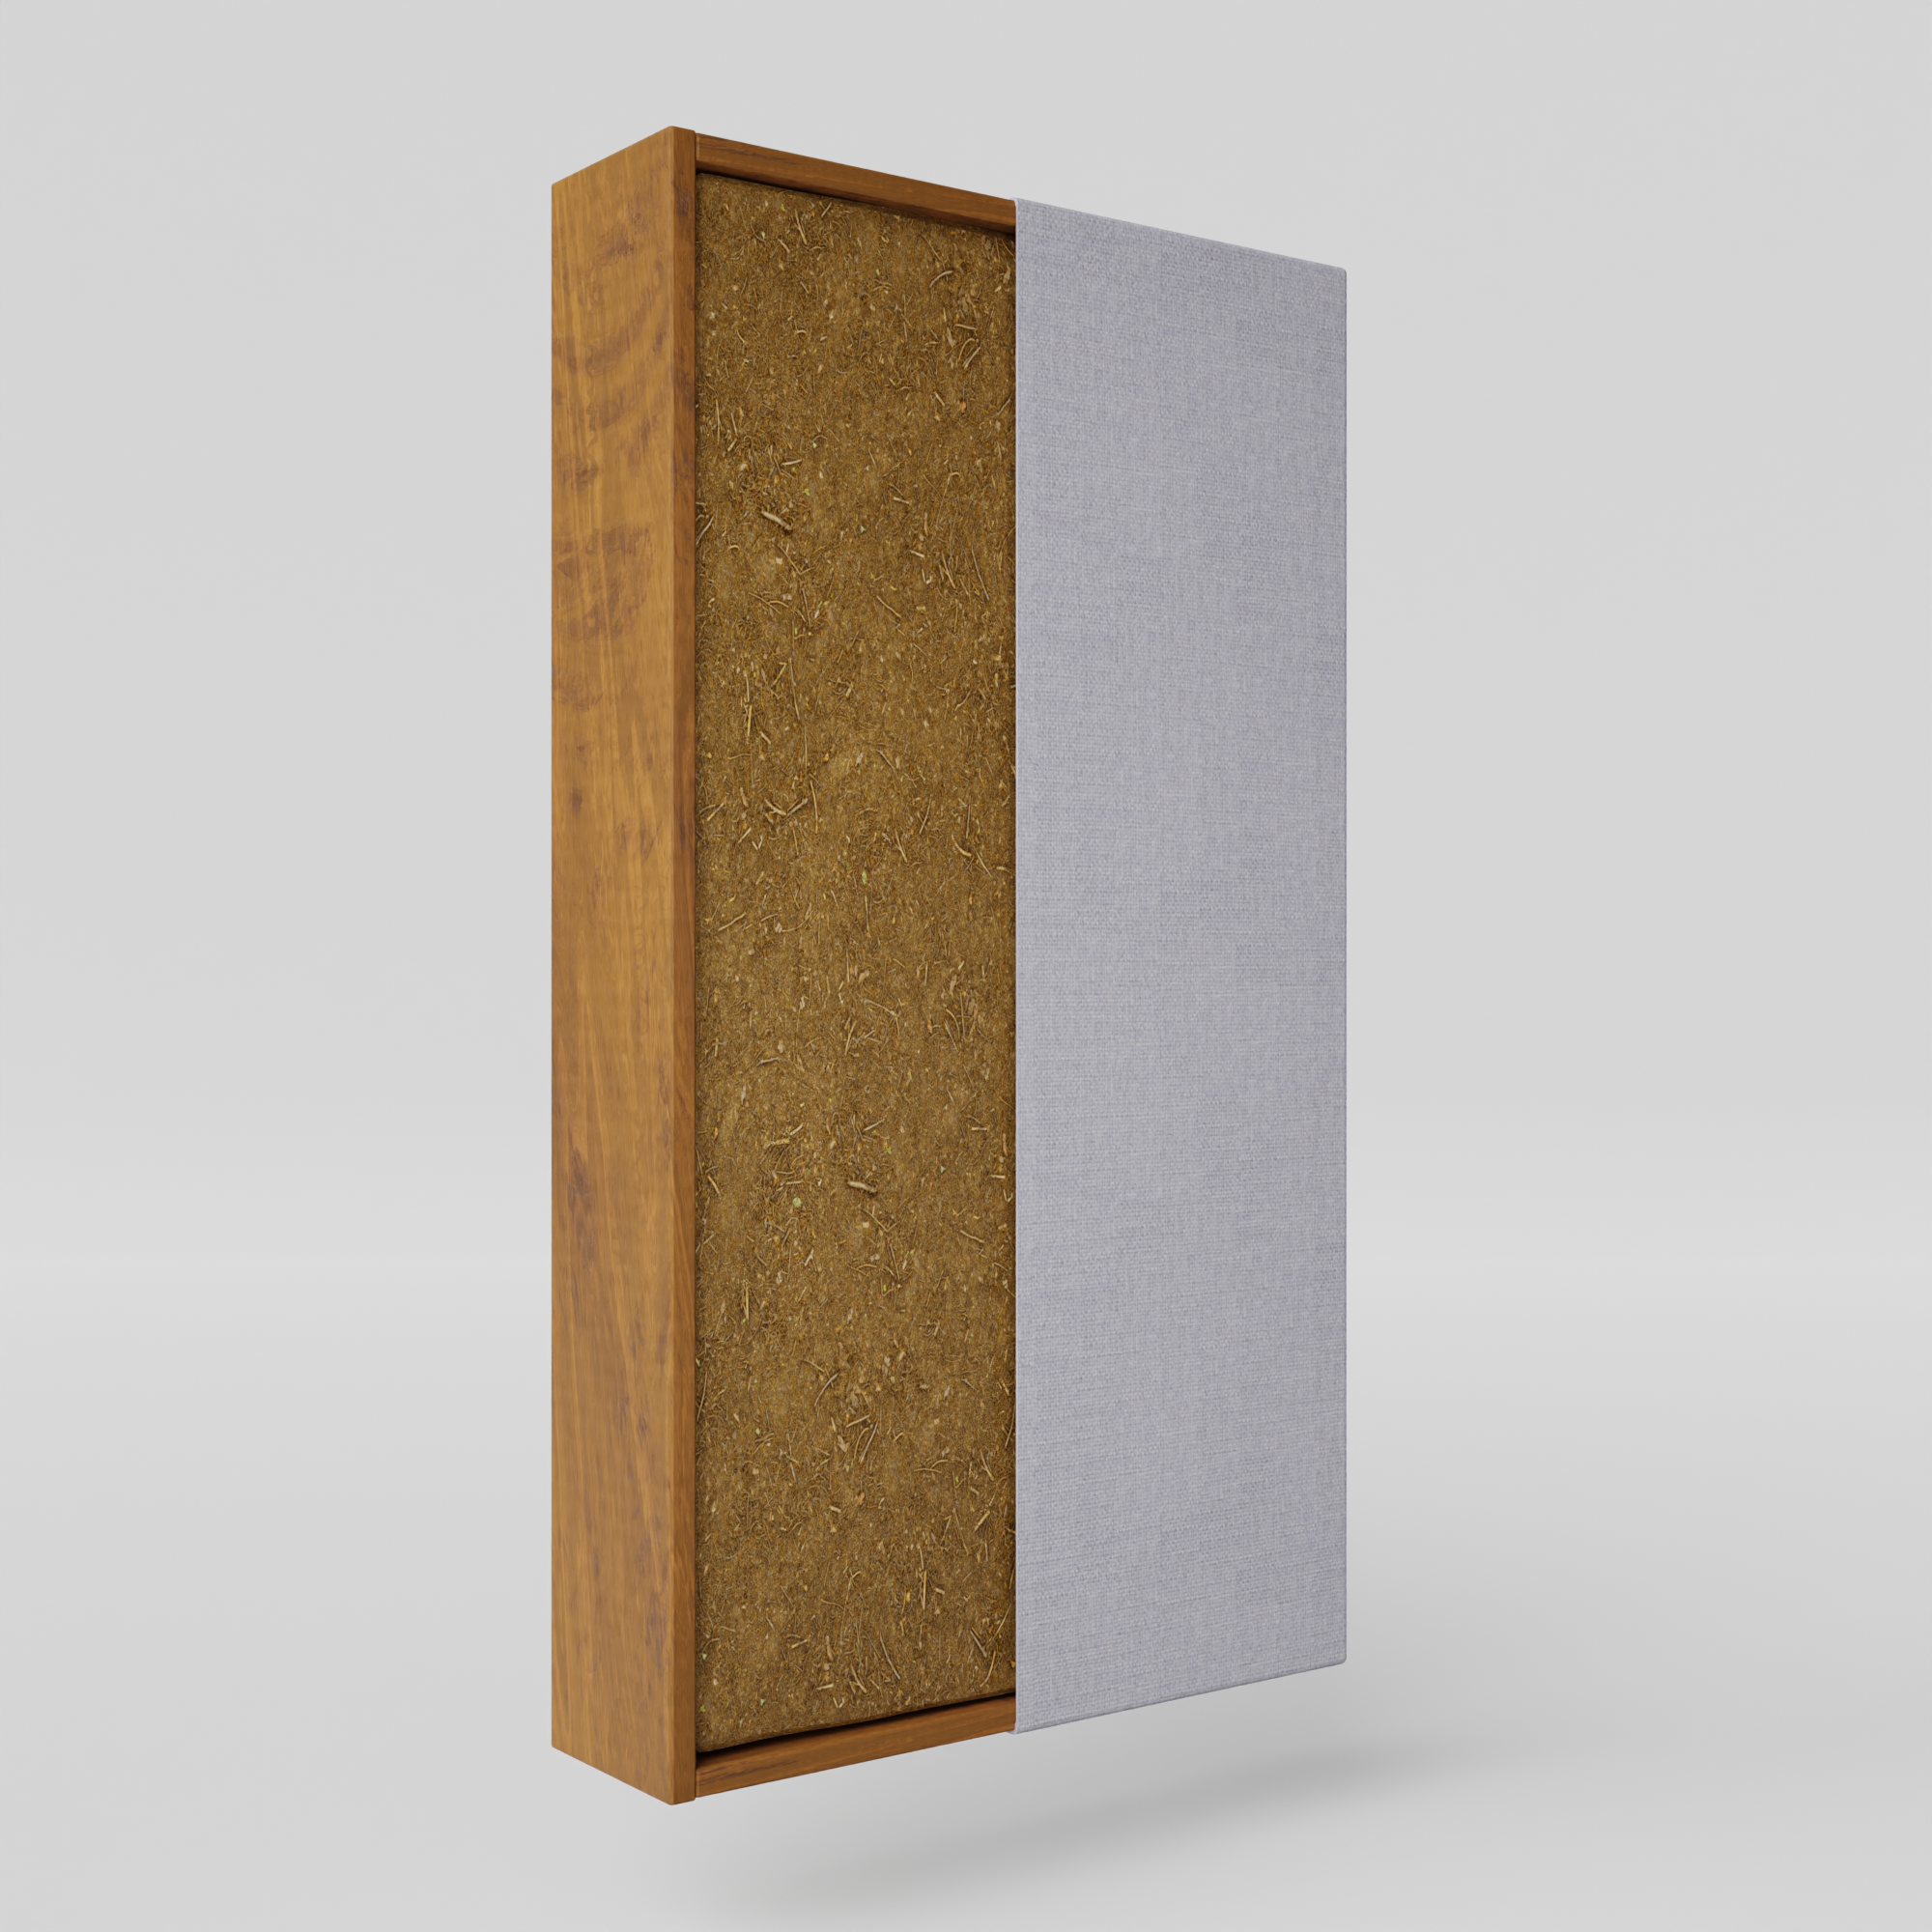
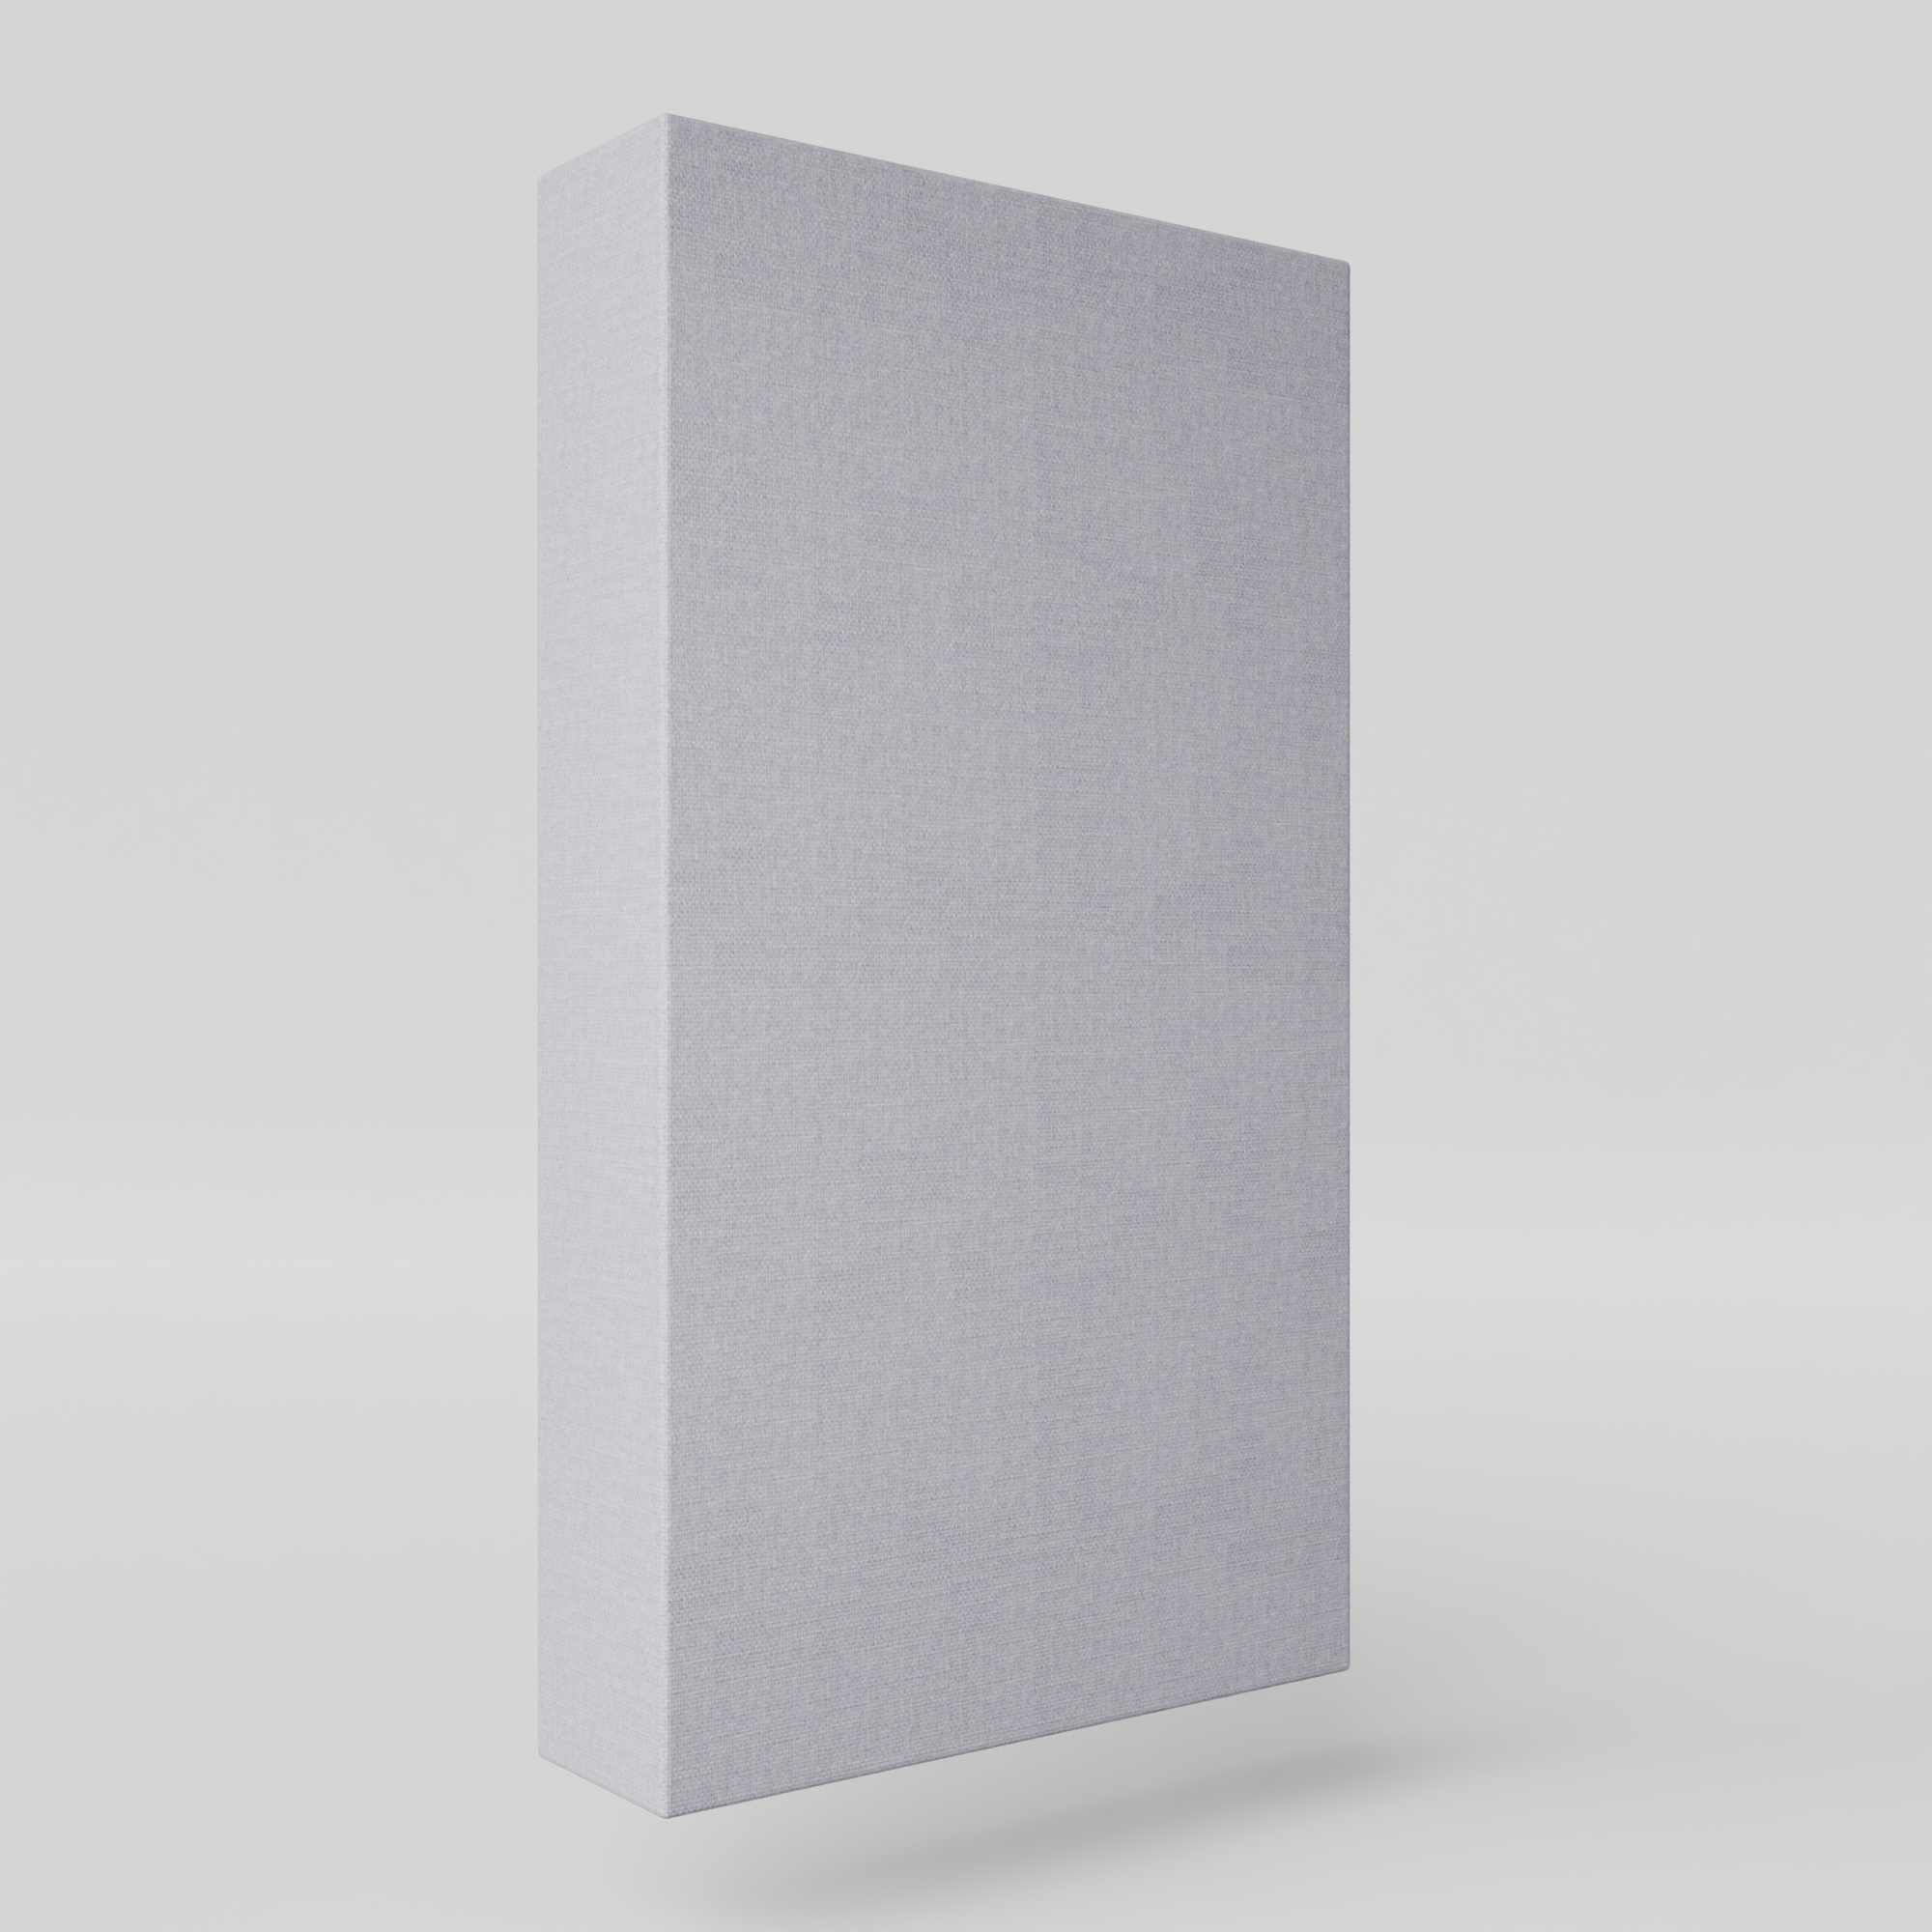
KING KONG CLASSIC - Bass Trap - Glass

Unbeatable price to performance ratio

No expense spared! Extremely durable structure

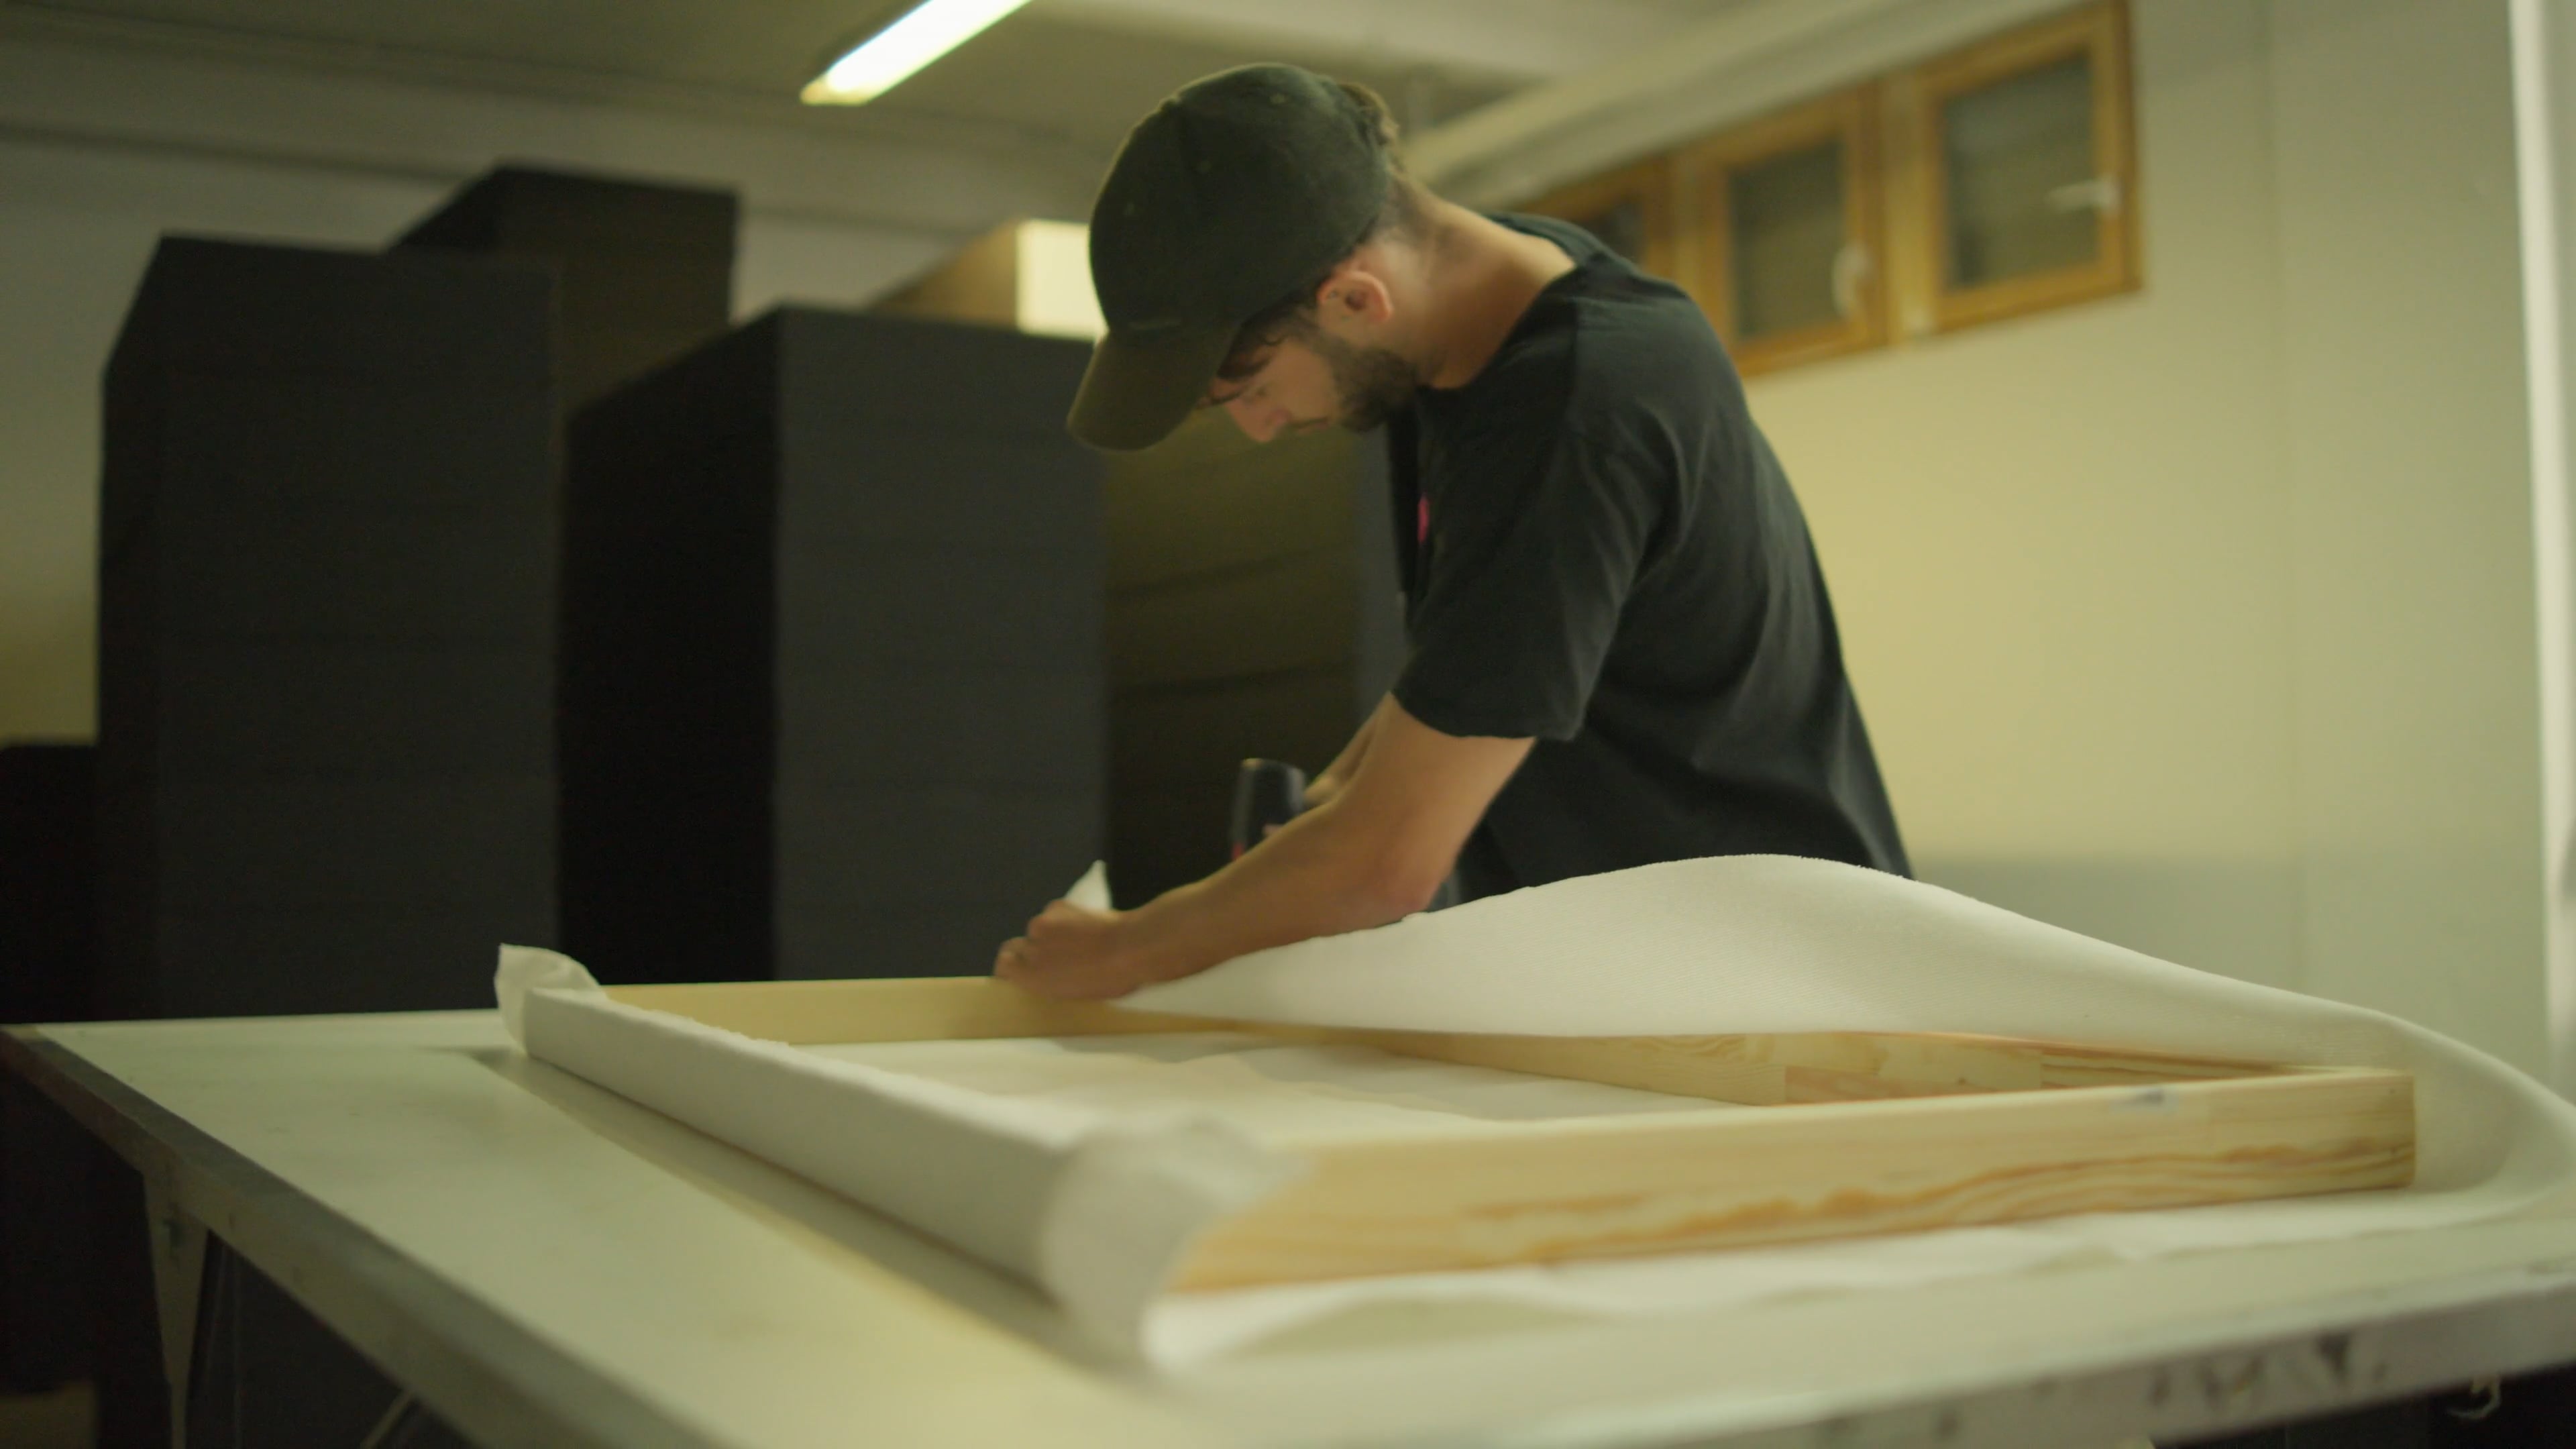
Handmade in Berlin with sustainable materials
Tax included. Shipping calculated at checkout
Net Cost Per Unit 160€
How many do I need?
- Minimum production studio:
1 x KK per m*2 of floor space
- Basic production studio:
1.2 x KK per m*2 of floor space
- Professional mixing studio:
1.5 x KK per m*2 of floor space
(this is where most customers aim for, it's the real "sweet spot" for getting to a professional result on a budget).
- Advanced mastering studio:
1.7 - 2.0 x KK per m*2 of floor space
⬇️ MORE INFO BELOW ⬇️
Over 410% more acoustic control for your money than any other solutions on the market.
SUPPORTING THE INDUSTRIE
Made for professionals
60 DAYS
money-back guarantee

Description
Product specifications
Performance
Materials
Delivery
We’re excited to offer free pickup for all our products right here in Berlin. Just choose the pickup option at checkout and swing by to grab your items whenever it’s convenient for you.
Heidelberger Strasse 65, 12435 Berlin
We also ship to the following countries:
Belgium, Denmark, Germany, Finland, France, Ireland, Italy, Netherlands, Norway, Austria, Portugal, Sweden, Switzerland, Spain, United Kingdom
Delivery Time:
All of our products are made to order and the delivery time is up to 4 weeks due to the volume of orders we receive.
Our team is doing their best to craft your handmade products in Berlin as quickly as possible.
We will contact you once your order has been completed.
Thank you for your understanding and trust!



I struggled to find a proper solution for the sound issues I've found across all the rooms I've had/worked in Berlin. Between Kiss Your Ears fair pricing, expertise and network of people to help at every part of the process, I was able to set this room up perfectly, address all my issues and be confident in what comes out of it!
Kiss Your Ears are extremely knowledgeable and accomodating, both the product and installation were top notch, and the prices are so reasonable that I can't imagine ever wanting to build another DIY trap myself.
I was looking for acoustic treatment for my space and I was really struggling to find anything that was affordable yet professional. I'm a serious lover of bass and my room had serious bass problems. Kiss Your Ears gave me a really dedicated personal service. They cared about the bass response as much as I did. I could not be happier!
ALL YOU NEED TO KNOW
Results!
We have made a foolproof system that a monkey can follow and get pro results.
Do as much as you can.
Honestly we get insane results from this and when compared to readings online from other sources…
What to Look For in a Waterfall Graph When Treating a Modern Music Studio:

Look at the following waterfall graph readings:

There's no logic in waiting to hear how good your room can actually sound when the reality is there are many ways to place them and you could also just check several options yourself before touching a powertool… they can actually stand on their own without being installed…
These are the best you can get, no matter which location you put them in, and if you do this professionally you should put them in all potential locations eventually. Just add them!
The truth is, to achieve the ultimate high end acoustic environment, you would need to cover all corners and reflective surfaces with optimised ultra low reaching bass traps like the King Kong series. Until you get to that point, you can't position them wrongly. It will always be an improvement.
Here’s an example of an economic sequential placement plan, where a client purchases their treatment in stages and adds them in sequence.
This represents a 15m2 room with 24 x KK:

More results:


How many do I need and where should I put them?
How Many Bass Traps Do I Need?
You can turn any standard room in your home into a pro studio with this simple formula. Welcome to the revolution.
How many?
Go as far as you can afford. You need more than you think, but the good news is we have made that solution available and affordable. You can get to much better results than previously thought. The more you add, the better your studio’s bass response will be. The more you add, the lower they will resolve issues, and the tighter they will make the bass as well as the rest of the spectrum along the way. You will not end up having a “dead” sounding room. That comes from under-absorbing low frequencies compared to high frequencies. Our solutions don’t have that problem.
We have created a data-driven system for getting to Pro results in almost any room that even a monkey can use! For more complex rooms, there are further stages, but that's not necessary for the vast majority of clients. This is the game changer. Our bass traps are ultra-optimized.
Budget Considerations:
No matter what your budget is, you can add some KK traps and they will improve your situation. You can add more later. Even if you have no space left after the last treatment you did, you could replace that treatment with KKs and still achieve an improvement.
Any pics you see of any particular setup is a work in progress until all corners and reflective wall surfaces are covered. These things transform normal rooms into world-class studios. Prioritize corners. Then, early reflection points. The side of the room you work at should be more heavily treated until you do the whole thing. This concentrates and maximizes the impact of this method. There's always room for improvement. Invest in yourself already!
“How many” is more important than “where” because low frequencies are omnidirectional… So, How many…?
To determine the number of bass traps for low-frequency control, you need an amount of absorbent proportional to the 3D volume of space in your room. We've simplified the calculation for you into a simple 2D model based on our King Kong series:
- Minimum / production studio: 1 x KK per m*2 of floor space
- Basic / production studio: 1.2 x KK per m*2 of floor space
-
Professional / mixing studio: 1.5 x KK per m*2 of floor space
(this is where most customers aim for, it's the real "sweet spot" for getting to a professional result on a budget). - Advanced / mastering studio: 1.7 - 2.0 x KK per m*2 of floor space
It's a game of depth, density, surface area, and positioning. We have already taken care of the depth and density question. You just have to add the surface area.
The most important thing is simply an adequate volume of correctly engineered MASS being brought into the volume of space.
What we offer and how we work
Differences in the King Kong Series
Installation Guide
- Tools (minimum)
Cordless screwdriver (with hammer function or additional hammer drill), drill bits: 6 mm for concrete, 2.5-3.0mm for wood, 14mm for plasterboard, screw bits, level, hammer, flat-nose pliers, pencil, eraser, tape, metal angle, level.

-Checking Walls as well as ceiling conditions.
- mostly walls should not be a problem.
- Knock on the ceiling in several areas to check how stable it is. Most ceilings are either concrete, wood or plasterboard with support structure.
If concrete, use 6mm fischer dübels, if wood pre-drill and screw hooks directly into the wood beams, if plasterboard use Kippdübel Fischer KDH 4.
Note: You do not need to install the system to have the desired effect of it. If the building substance is inferior, you would be better building walls from the traps than installing them on walls, for example. They stand on their own.
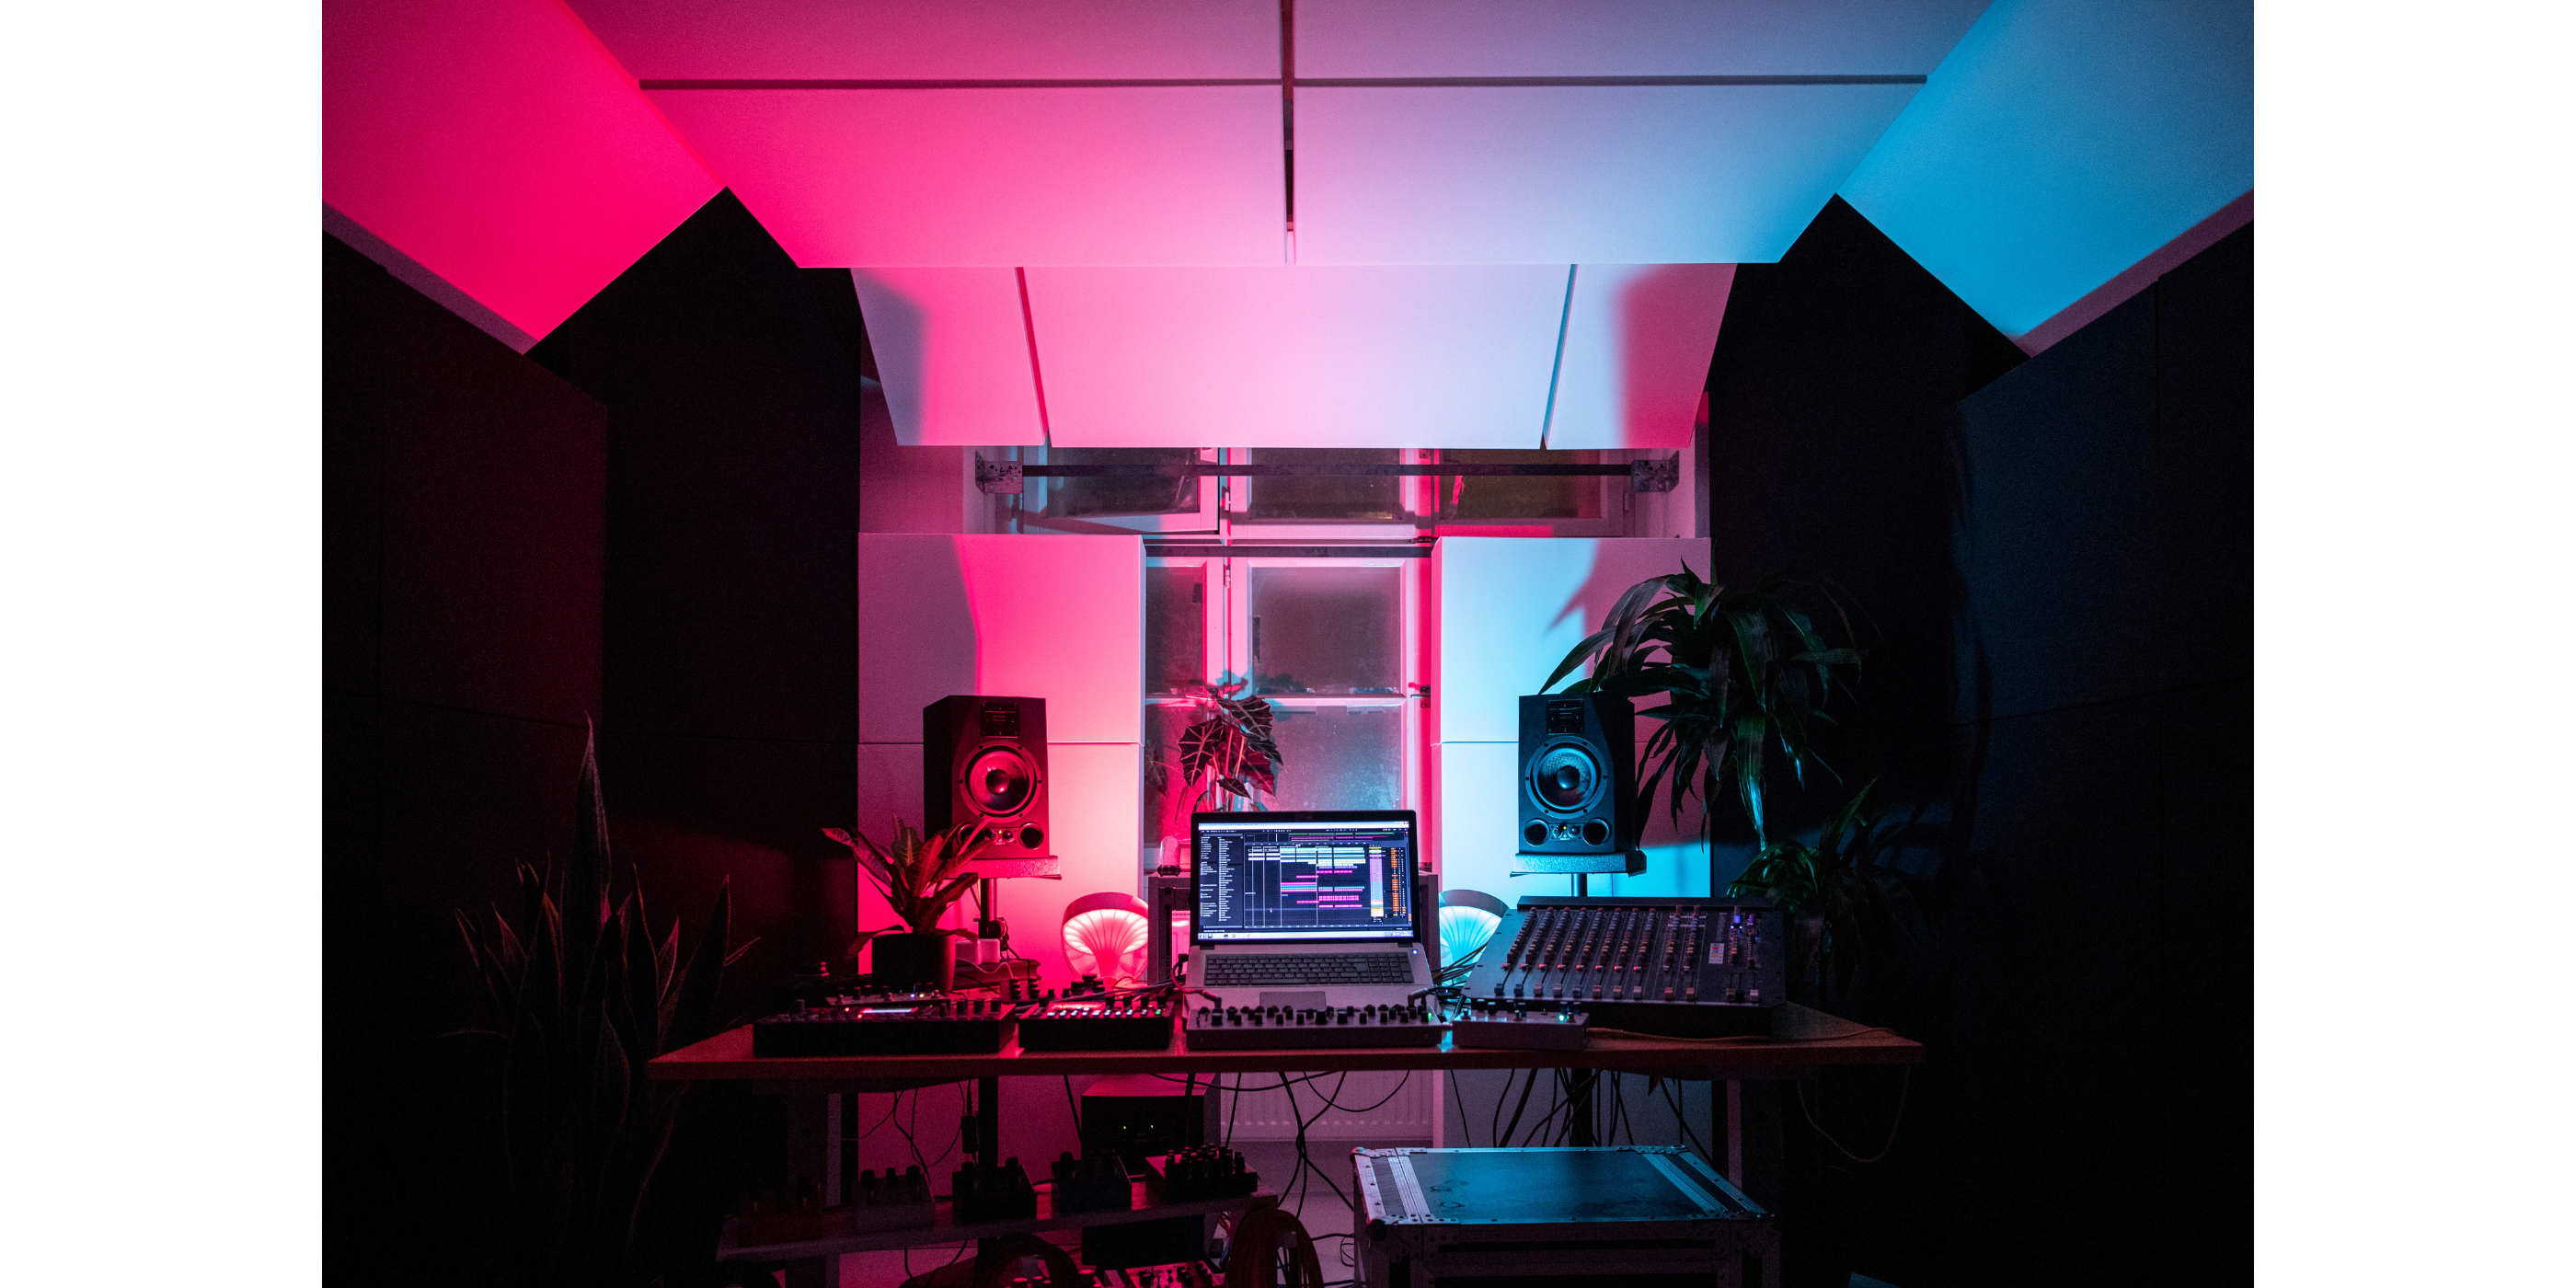
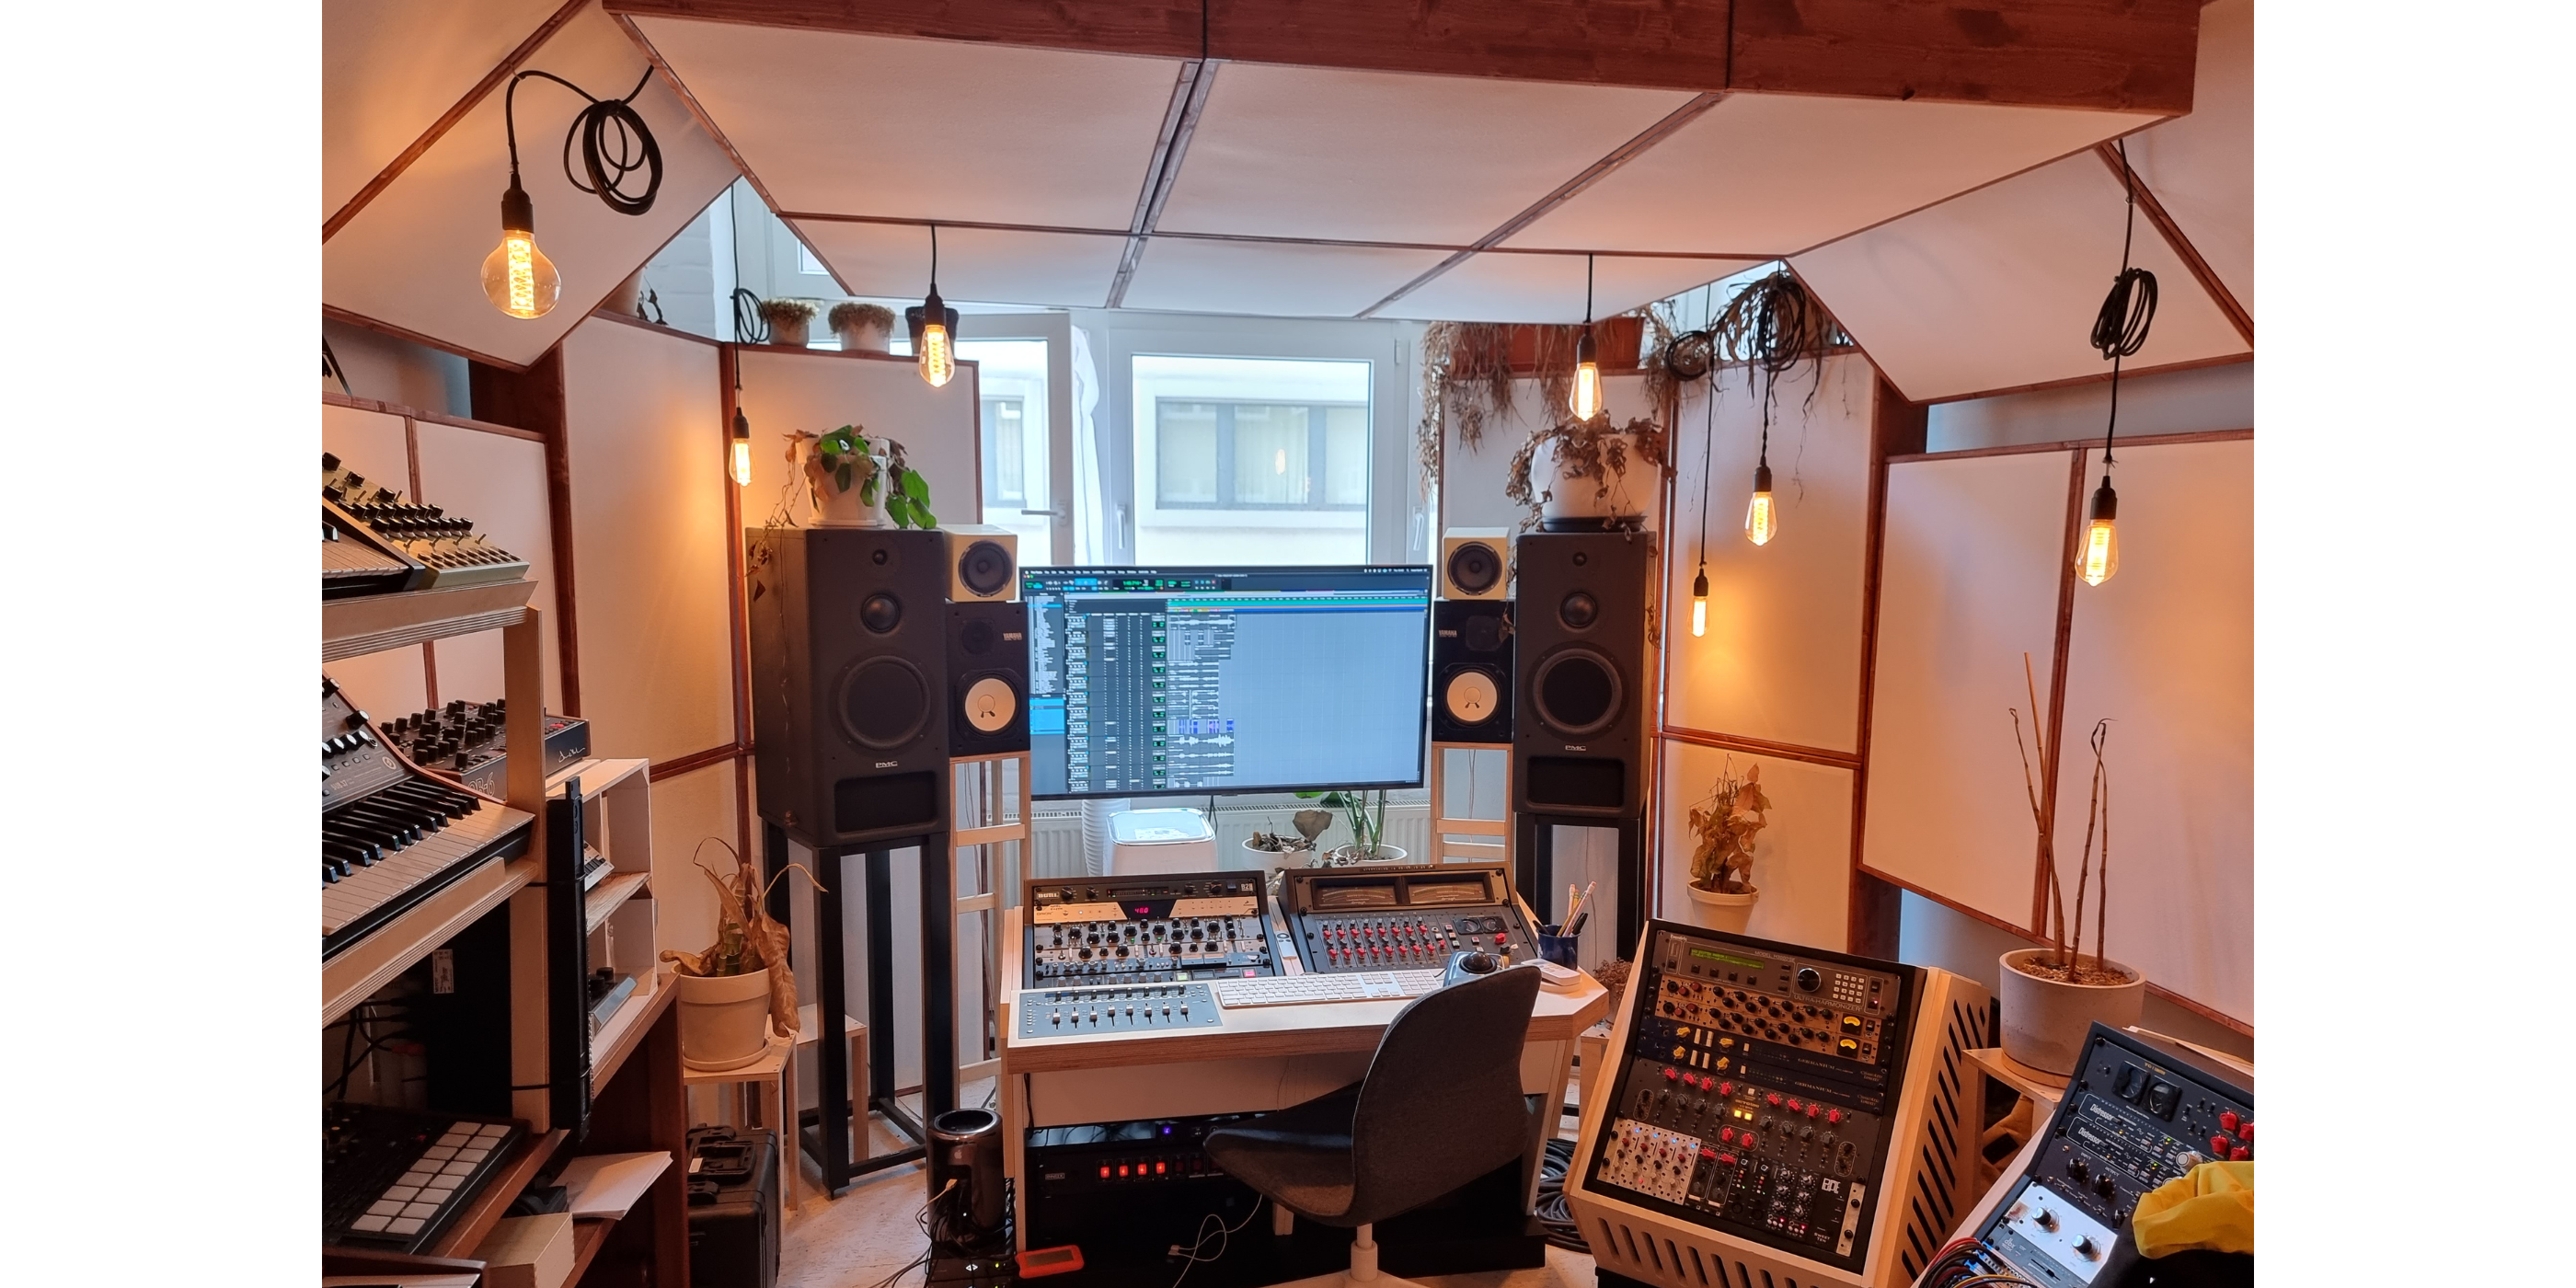
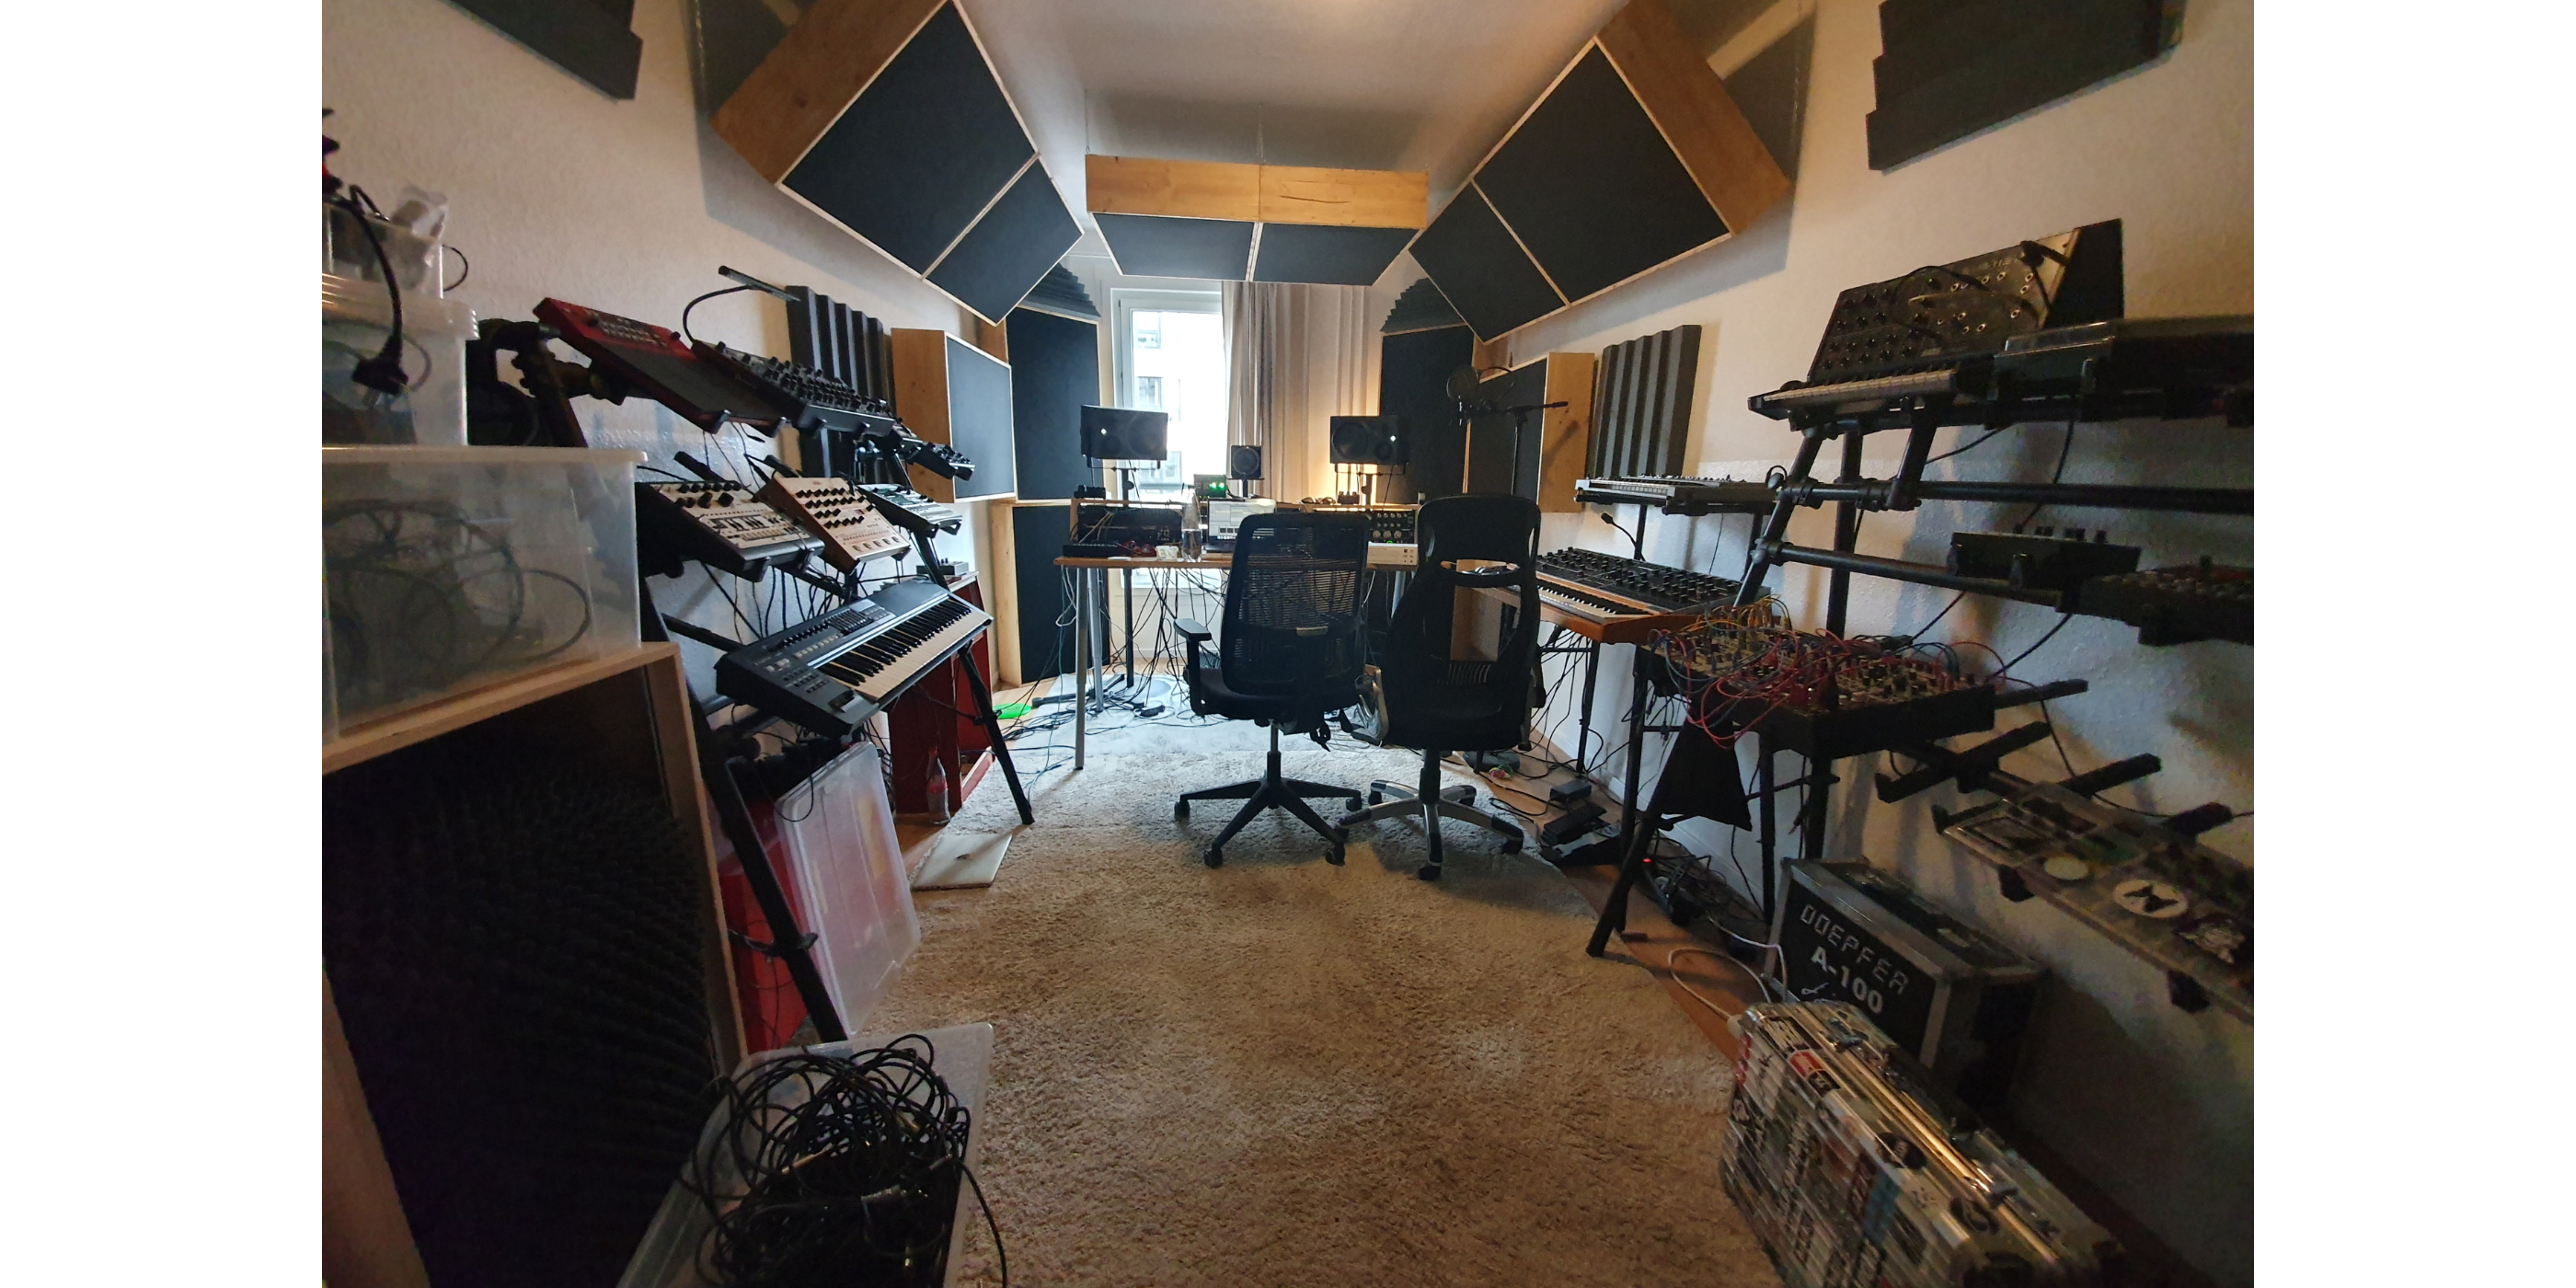
For example, look at the two studio rooms pictured below. One is an installed system and the other is arranged as a “no install” system. Both rooms are a similar size and with a similar amount of King Kong Bass Traps being added. The results are very similar!
Installed system.

“No install” system.

-Marking Sweet Spot/ listening position with tape (needed to find first reflection positions)
- mark the centre of the short side of the room and the long side measurement multiplied by 0.38.
Aka. L x 0.38
And, W x 0.5
This will leave you sitting 38% down the length of the room from the front wall, central on the width axis.
-If not possible to sit at the optimal listening position of the room, just mark where your chair will be while listening/working.
Note: We actually use the 38% rule for the first acoustic measurement position, and then measure backwards and forwards in increments of 20cm to find the room’s particular “sweet spot”. The monitors should be in an equilateral triangle for this.
-Determine the setup of the traps!
Do it for free with Kiss Your Ears online guides or hire us to help you.
We have created systems to guarantee pro results that even a monkey could use and make them available for you.
The reality is you would need to cover all corners and reflective surfaces before you exhaust the use of this kind of low frequency treatment.
Pre-drilling the back of the traps to fit hooks:

Once you have chosen the positions you will install the traps in your room, you can pre-drill holes for the fittings in the backs of the traps so that the timber does not split.

Pro tip for efficient winding of screw hooks.
The different Trap Position Types and how to install them:
Front corner “towers”. Bass Trap function.
These are the primary bass trapping location in most cases because they are the easiest to install and therefore represent the most low frequency absorption for the least amount of effort.
These can be oriented vertically or horizontally over the vertical corners.
Vertically, they take up less room. Horizontally, they reach lower frequencies more effectively by extending the depth of air gap.

Connect hooks with chain.

Connect hooks with chain.
Wall to ceiling corners. Bass Trap function.
Again, These can be oriented vertically or horizontally over the [horizontal] corners. Connect the hooks on the ceiling to the hooks on the bass trap with chain.


Installed on wall. Early Reflection function.
These can be oriented vertically or horizontally, like any other position.
Note: building “walls” from the absorbers covers both the ERP position AND the BT position.
Pic: example… and another pic explaining my KKPA bottom corner location.


By building walls out of the units (they have enough structure by design) to achieve a larger surface area and therefore absorb a larger splash radius. This also allows the use of air gaps, which is effective. The real bonus here, though, is that by organising the traps in such an array, you will automatically cover the wall to floor corner which is another bass trap function location.
Installed on ceiling. Early Reflection function.
Often referred to as a cloud for no particularly valid reason, this is another early reflection point.

We have made a foolproof system that a monkey can follow and get pro results.
Do as much as you can.
Honestly we get insane results from this and when compared to readings online from other sources…
What to Look For in a Waterfall Graph When Treating a Modern Music Studio:

Look at the following waterfall graph readings:

There's no logic in waiting to hear how good your room can actually sound when the reality is there are many ways to place them and you could also just check several options yourself before touching a powertool… they can actually stand on their own without being installed…
These are the best you can get, no matter which location you put them in, and if you do this professionally you should put them in all potential locations eventually. Just add them!
The truth is, to achieve the ultimate high end acoustic environment, you would need to cover all corners and reflective surfaces with optimised ultra low reaching bass traps like the King Kong series. Until you get to that point, you can't position them wrongly. It will always be an improvement.
Here’s an example of an economic sequential placement plan, where a client purchases their treatment in stages and adds them in sequence.
This represents a 15m2 room with 24 x KK:

More results:


How Many Bass Traps Do I Need?
You can turn any standard room in your home into a pro studio with this simple formula. Welcome to the revolution.
How many?
Go as far as you can afford. You need more than you think, but the good news is we have made that solution available and affordable. You can get to much better results than previously thought. The more you add, the better your studio’s bass response will be. The more you add, the lower they will resolve issues, and the tighter they will make the bass as well as the rest of the spectrum along the way. You will not end up having a “dead” sounding room. That comes from under-absorbing low frequencies compared to high frequencies. Our solutions don’t have that problem.
We have created a data-driven system for getting to Pro results in almost any room that even a monkey can use! For more complex rooms, there are further stages, but that's not necessary for the vast majority of clients. This is the game changer. Our bass traps are ultra-optimized.
Budget Considerations:
No matter what your budget is, you can add some KK traps and they will improve your situation. You can add more later. Even if you have no space left after the last treatment you did, you could replace that treatment with KKs and still achieve an improvement.
Any pics you see of any particular setup is a work in progress until all corners and reflective wall surfaces are covered. These things transform normal rooms into world-class studios. Prioritize corners. Then, early reflection points. The side of the room you work at should be more heavily treated until you do the whole thing. This concentrates and maximizes the impact of this method. There's always room for improvement. Invest in yourself already!
“How many” is more important than “where” because low frequencies are omnidirectional… So, How many…?
To determine the number of bass traps for low-frequency control, you need an amount of absorbent proportional to the 3D volume of space in your room. We've simplified the calculation for you into a simple 2D model based on our King Kong series:
- Minimum / production studio: 1 x KK per m*2 of floor space
- Basic / production studio: 1.2 x KK per m*2 of floor space
-
Professional / mixing studio: 1.5 x KK per m*2 of floor space
(this is where most customers aim for, it's the real "sweet spot" for getting to a professional result on a budget). - Advanced / mastering studio: 1.7 - 2.0 x KK per m*2 of floor space
It's a game of depth, density, surface area, and positioning. We have already taken care of the depth and density question. You just have to add the surface area.
The most important thing is simply an adequate volume of correctly engineered MASS being brought into the volume of space.
- Tools (minimum)
Cordless screwdriver (with hammer function or additional hammer drill), drill bits: 6 mm for concrete, 2.5-3.0mm for wood, 14mm for plasterboard, screw bits, level, hammer, flat-nose pliers, pencil, eraser, tape, metal angle, level.

-Checking Walls as well as ceiling conditions.
- mostly walls should not be a problem.
- Knock on the ceiling in several areas to check how stable it is. Most ceilings are either concrete, wood or plasterboard with support structure.
If concrete, use 6mm fischer dübels, if wood pre-drill and screw hooks directly into the wood beams, if plasterboard use Kippdübel Fischer KDH 4.
Note: You do not need to install the system to have the desired effect of it. If the building substance is inferior, you would be better building walls from the traps than installing them on walls, for example. They stand on their own.
For example, look at the two studio rooms pictured below. One is an installed system and the other is arranged as a “no install” system. Both rooms are a similar size and with a similar amount of King Kong Bass Traps being added. The results are very similar!
Installed system.

“No install” system.

-Marking Sweet Spot/ listening position with tape (needed to find first reflection positions)
- mark the centre of the short side of the room and the long side measurement multiplied by 0.38.
Aka. L x 0.38
And, W x 0.5
This will leave you sitting 38% down the length of the room from the front wall, central on the width axis.
-If not possible to sit at the optimal listening position of the room, just mark where your chair will be while listening/working.
Note: We actually use the 38% rule for the first acoustic measurement position, and then measure backwards and forwards in increments of 20cm to find the room’s particular “sweet spot”. The monitors should be in an equilateral triangle for this.
-Determine the setup of the traps!
Do it for free with Kiss Your Ears online guides or hire us to help you.
We have created systems to guarantee pro results that even a monkey could use and make them available for you.
The reality is you would need to cover all corners and reflective surfaces before you exhaust the use of this kind of low frequency treatment.
Pre-drilling the back of the traps to fit hooks:

Once you have chosen the positions you will install the traps in your room, you can pre-drill holes for the fittings in the backs of the traps so that the timber does not split.

Pro tip for efficient winding of screw hooks.
The different Trap Position Types and how to install them:
Front corner “towers”. Bass Trap function.
These are the primary bass trapping location in most cases because they are the easiest to install and therefore represent the most low frequency absorption for the least amount of effort.
These can be oriented vertically or horizontally over the vertical corners.
Vertically, they take up less room. Horizontally, they reach lower frequencies more effectively by extending the depth of air gap.

Connect hooks with chain.

Connect hooks with chain.
Wall to ceiling corners. Bass Trap function.
Again, These can be oriented vertically or horizontally over the [horizontal] corners. Connect the hooks on the ceiling to the hooks on the bass trap with chain.


Installed on wall. Early Reflection function.
These can be oriented vertically or horizontally, like any other position.
Note: building “walls” from the absorbers covers both the ERP position AND the BT position.
Pic: example… and another pic explaining my KKPA bottom corner location.


By building walls out of the units (they have enough structure by design) to achieve a larger surface area and therefore absorb a larger splash radius. This also allows the use of air gaps, which is effective. The real bonus here, though, is that by organising the traps in such an array, you will automatically cover the wall to floor corner which is another bass trap function location.
Installed on ceiling. Early Reflection function.
Often referred to as a cloud for no particularly valid reason, this is another early reflection point.

KING KONG COMPARISON
CLASSIC
PREMIUM
X
1240 mm × 600 mm x 200 mm
1240 mm × 600 mm x 200 mm
1220mm x 596mm x200mm
11.9 KG
12.9 KG
10.3 KG
✓ Furniture-grade wood
✓ Density optimised recycled wood and hemp absorbent
✓ Proprietary mix of recycled wood and hemp
(Optisonic Technology)
✓ Furniture-grade wood
✓ Density optimised recycled wood and hemp absorbent
✓ Proprietary mix of recycled wood and hemp
(Optisonic Technology)
✓ Furniture-grade wood
✓ Density optimised recycled wood and hemp absorbent
✓ Proprietary mix of recycled wood and hemp
(Optisonic Technology)
Bespoke Camira Cara™ Acoustic Fabric
Bespoke Camira Cara™ Acoustic Fabric
Bespoke Camira Cara™ Acoustic Fabric
Absorption coefficient of 0,6 at 40 Hz when placed diagonally over corners and 0,8 at 110 Hz when placed directly on the wall - Optimised to as far as a velocity absorber can go!
Absorption coefficient of 0,6 at 40 Hz when placed diagonally over corners and 0,8 at 110 Hz when placed directly on the wall - Optimised to as far as a velocity absorber can go!
Absorption coefficient of 0,6 at 40 Hz when placed diagonally over corners and 0,8 at 110 Hz when placed directly on the wall - Optimised to as far as a velocity absorber can go!
130€
160€
140€
✓ A detailed stereo image
✓ Modal resonances fixed (detailed, defined low end)
✓ An even frequency response
✓ An even reverb time across the frequency spectrum
✓ Defined dynamics and transients
✓ Flutter echo diminished
✓ A detailed stereo image
✓ Modal resonances fixed (detailed, defined low end)
✓ An even frequency response
✓ An even reverb time across the frequency spectrum
✓ Defined dynamics and transients
✓ Flutter echo diminished
✓ A detailed stereo image
✓ Modal resonances fixed (detailed, defined low end)
✓ An even frequency response
✓ An even reverb time across the frequency spectrum
✓ Defined dynamics and transients
✓ Flutter echo diminished
1 x KK per m*2 of floor space
1 x KK per m*2 of floor space
1 x KK per m*2 of floor space
1.2 x KK per m*2 of floor space
1.2 x KK per m*2 of floor space
1.2 x KK per m*2 of floor space
1.5 x KK per m*2 of floor space
1.5 x KK per m*2 of floor space
1.5 x KK per m*2 of floor space
1.7 - 2.0 x KK per m*2 of floor space
1.7 - 2.0 x KK per m*2 of floor space
1.7 - 2.0 x KK per m*2 of floor space
